Résumer cet article avec :
 Claude
Nothing beats the smell of toasted bread in the morning, but a dirty toaster can turn this delightful experience into a disappointing one. Regular cleaning not only extends the life of your toaster but also ensures your toast is free from any unwanted tastes or smells. In this comprehensive guide, we’ll walk you through the process of cleaning your toaster, making it easy and effective. Plus, for those moments when you need a bit more assistance or simply want to ensure the job is done to perfection, Wecasa Cleaning Services is here to lend a professional hand, ensuring your kitchen appliances are impeccably maintained.

Preparing Your Toaster for Cleaning
Safety First
Before embarking on your cleaning journey, safety comes first. Ensure your toaster is unplugged and completely cooled to prevent any accidents. This is the perfect time to inspect your toaster for any signs of wear or damage, particularly to the electrical cord and plug, which could pose potential hazards.
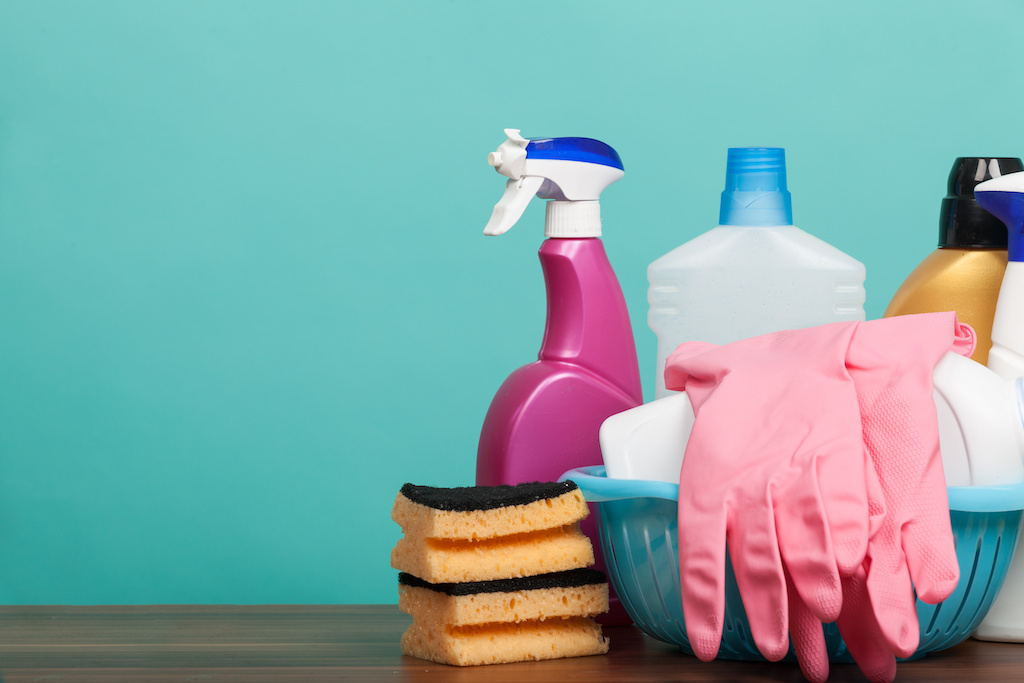
Gather Your Cleaning Supplies
The right cleaning tools will make the cleaning process smoother and more efficient.
You’ll need:
- A soft brush or an old, clean paintbrush to dust away crumbs
- A microfiber cloth or a soft, damp cloth for wiping down surfaces
- A mild detergent mixed with water for cleaning the crumb tray and exterior
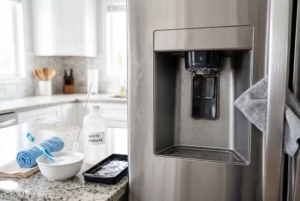
- White vinegar (for stainless steel toasters) to tackle fingerprints and smudges
- A toothbrush (optional) for hard-to-reach areas

The Cleaning Process
Remove and Clean the Crumb Tray
The crumb tray is a hotspot for debris accumulation. Removing and cleaning it regularly prevents crumbs from burning, which can affect your toaster’s performance and safety. After washing it with a mild detergent, ensure it’s completely dry before reinserting it to prevent any rust.
Shake Out Additional Crumbs
Turning your toaster upside down and gently shaking it is a surprisingly effective way to remove crumbs. This step helps dislodge particles that the crumb tray didn’t catch, ensuring a thorough cleaning.
Deep Clean the Interior
Using a soft brush or a spare toothbrush, carefully brush the interior slots where the bread is placed. This will help remove any crumbs stuck inside. Be gentle to avoid damaging the internal components.
Clean the Exterior
The exterior of your toaster should not be neglected. A clean exterior not only looks better on your countertop but also prevents the buildup of kitchen grease and dust. For stainless steel toasters, a diluted vinegar solution can be used to restore shine and remove smudges.
Maintaining Your Toaster
Regular Cleaning
Incorporating toaster cleaning into your regular kitchen routine will significantly enhance its lifespan and performance. A monthly deep clean is recommended, with a weekly crumb tray removal and cleaning.
Inspecting for Damage
Frequent inspections can help you catch any potential issues early on, reducing the risk of malfunctions or safety concerns. Pay special attention to the heating elements and ensure the toaster sits level on your countertop to prevent uneven toasting.

Advanced Tips for a Sparkling Toaster
Dealing with Stubborn Stains
Stainless steel toasters can sometimes fall victim to stubborn stains or water spots. A paste made from baking soda and water can be gently applied to these areas, left to sit for a few minutes, and then wiped clean for a spotless finish.
Keeping Your Toaster Smelling Fresh
When to Consider a Professional Cleaning Service
DIY methods are fantastic for regular maintenance, but certain situations call for the expertise of professionals. Whether you’re dealing with persistent stains or odours, or simply want to ensure a deep clean, Wecasa Cleaning Services offers specialised appliance cleaning. Our team is equipped with the tools and knowledge to address any cleaning challenges, providing peace of mind and freeing up your time to enjoy the more pleasant aspects of kitchen life.
Maintaining a clean toaster is key to enjoying delicious, perfectly toasted bread every morning. With our comprehensive guide, you’re well-equipped to tackle toaster cleaning with confidence. Remember, a little effort goes a long way in ensuring your toaster’s longevity and performance. And for those times when you prefer to leave it to the professionals, Wecasa Cleaning Services is at your service, ready to bring a sparkle to your kitchen appliances. Embrace the joy of a clean toaster and elevate your breakfast experience to new heights.
Happy cleaning!