Summarise this article with:
 ChatGPT
 Mistral
 Claude
 Perplexity
 Grok
Grout naturally soaks up dirt, soap scum and moisture, which is why it darkens faster than the tiles around it.
The good news: most grout can be brought back to life without re-tiling anything. In this guide, we’ll cover the tools you need, the best homemade methods, how to tackle shower and floor grout, and how to know when it’s time to regrout instead of clean.
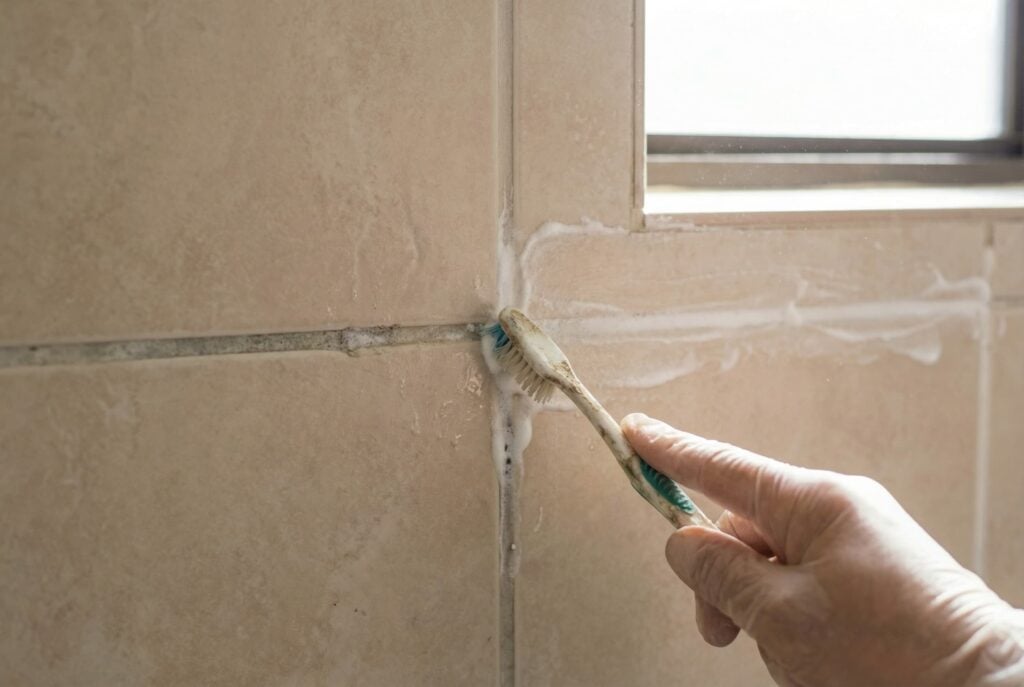
What You Need: Grout Cleaners, Brush and Tools
Before you start, gather a few basics. Nothing fancy, just the right tools for the job.
You’ll need a dedicated grout cleaner (supermarket or DIY store own-brand works fine), a stiff grout brush or an old toothbrush, gloves, a bucket and warm water. Got coloured grout or just light grime? Swap the stiff brush for one with softer bristles so you don’t scratch or fade it.
Here’s a quick rundown of what does what:
| Tool | What it’s for |
|---|---|
| Grout cleaner | Breaks down grease, grime and staining in the joint |
| Grout brush | Scrubs product into narrow grout lines |
| Microfibre cloths | Wipes away residue and dries the surface |
| Old toothbrush | Reaches tight corners and edges |
| Spray bottle | Applies homemade solutions evenly |
| Gloves | Protects hands from cleaner and bleach |
Most supermarkets and DIY stores stock all of this for a few pounds.
Mistakes to Avoid When Cleaning Tile Grout
A few slip-ups can undo your hard work fast, or damage the grout itself. Here’s what to skip.
Diluted vinegar and water is fine for an occasional clean on ceramic and porcelain tiles, but avoid using it too often on unsealed grout, and keep it away from natural stone. The acid can attack cement-based joints and etch stone surfaces over time.
Bleach deserves caution too, as it can fade or discolour coloured grout. Never mix bleach with other cleaners: bleach mixed with acidic products such as vinegar or limescale removers releases chlorine gas.
Reach for the right approach instead of brute force:
- Don’t scrub with a wire brush: it wears grout away rather than cleaning it.
- Don’t overuse bleach on coloured grout: it strips the colour.
- Don’t mix bleach with other cleaners: the fumes are dangerous.
- Don’t skip drying: leftover moisture lets grime and mould settle back into grout lines.
5 Best Natural Grout Cleaner Methods
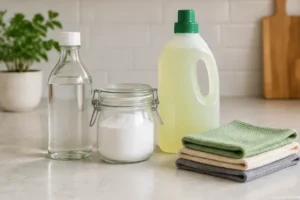
Don’t want to buy a specialist grout cleaner? Good news: your kitchen cupboard probably has everything you need. These household remedies work brilliantly on most grout, and you likely already own the ingredients.
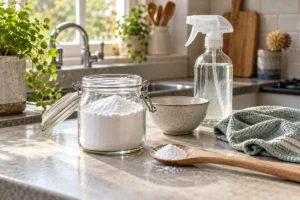
1. Baking soda and vinegar
Mix baking soda with a little water to form a thick paste, then apply it directly to the grout lines. Let it sit for 10 to 15 minutes to break down dirt, scrub thoroughly with a grout brush or an old toothbrush, and rinse with warm water. If you want to cut through stubborn limescale or soap scum afterwards, you can apply diluted white vinegar in a separate step, provided your tiles are ceramic or porcelain and not natural stone.
2. Hydrogen peroxide paste
For grout that needs more than a quick refresh, mix hydrogen peroxide 50/50 with water, or combine it with baking soda for a thicker paste. Apply directly to the grout, let it sit for around 10 minutes, then scrub and rinse. It brightens well without the strong fumes you get from bleach.
3. Bleach solution for white grout
Bleach works fast on white grout, but only white. Dilute it with water, open a window or door for ventilation, and apply with a brush rather than pouring it directly. Leave briefly, scrub, then rinse well to avoid residue. Never use on coloured grout, it will strip the colour.
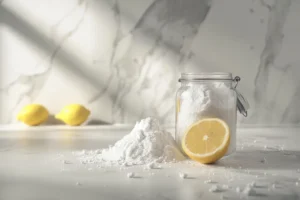
4. Lemon juice
Lemon juice is a gentler option, ideal if your grout is light-coloured or you’d rather avoid bleach altogether. Apply directly or mix with a little baking soda for extra lift. Leave for a few minutes, scrub lightly, rinse, and dry. It won’t tackle heavy staining, but it’s great for regular brightening.
5. Steam cleaning
If you’d rather skip chemicals entirely, a steam cleaner with a brush head does the job. Run it slowly along the grout lines, letting the heat loosen dirt as you go, then wipe away with a cloth. No rinsing needed, just a quick dry to finish.
Prop tip: Never mix hydrogen peroxide and vinegar in the same bottle: together they form peracetic acid, which can irritate your eyes, skin and lungs. If you use both, wipe the surface in between.
How to Clean Shower Grout and Remove Mould on Grout
Bathroom grout takes a beating: steam, soap scum and standing water make it the most mould-prone spot in the house. Here’s how to sort it, fast.
Spray a grout cleaner directly onto the lines and leave it to sit for a few minutes so it can break down soap scum. Scrub with a stiff brush, working section by section, then rinse with warm water. Dry the area fully with a towel or leave the extractor fan running: damp bathroom grout invites mould straight back.
Tackling black mould on grout safely
For small black spots, use a mould and mildew spray rather than bleach, then let it dry completely. A ready-made mould spray can help with stubborn patches: follow the label instructions and ventilate the room well by keeping a window open or the extractor fan running. If you are dealing with large patches of mould, bring in a professional to tackle the issue safely.
Pro Tip: Whatever product you use, finish by drying the grout completely. Mould needs moisture to return, so that last step matters as much as the cleaning itself.
How to Clean Floor Tile Grout Without Scrubbing
Floor grout collects more grime simply because it takes more foot traffic. The good news: you don’t have to get on your knees and scrub.
A foaming grout cleaner or an oxygen-bleach solution does the heavy lifting for you. Spray or pour the cleaning solution along the tile grout, let it dwell for 10 to 15 minutes, then mop or rinse it away.
For larger areas like kitchens or hallways, a tile and grout cleaner machine is a genuinely effective option. These handheld devices scrub with rotating brush heads so your arms don’t have to.
Wecasa Pro Tip: Use the two-bucket method when rinsing: one bucket for clean water, one for wringing out your mop. This stops you pushing dirty water straight back into the grout lines you just cleaned.
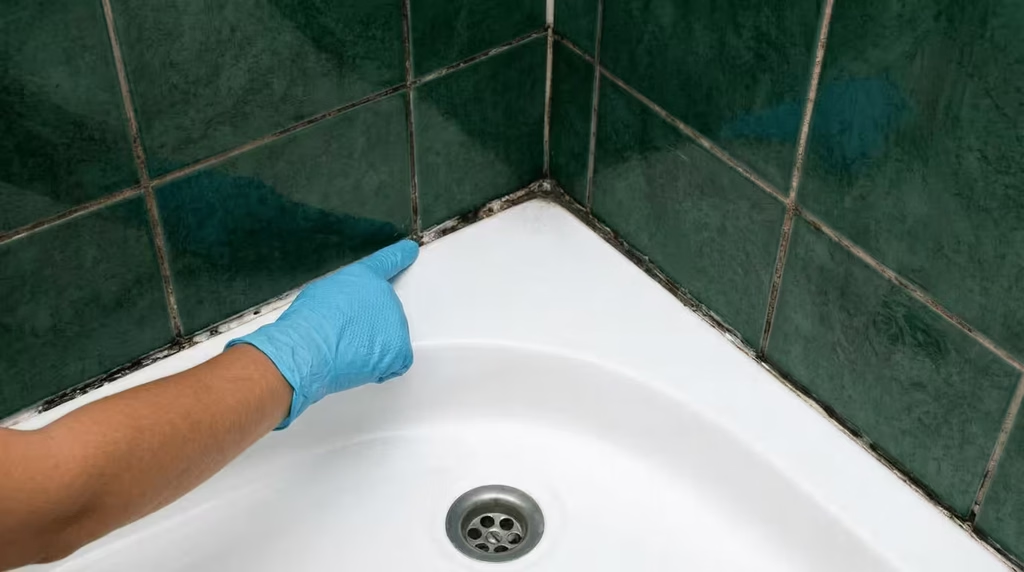
How to Whiten Grout and Remove Tough Stains
Grout gone dull again after all that scrubbing? Just repeat your peroxide or oxygen-bleach treatment: reapply, leave to sit, scrub gently, then dry thoroughly. Whitening often takes two rounds, especially on grout that is years overdue for a clean.
For tougher stains that simply will not lift, try a dedicated grout stain remover. Alternatively, apply a thick paste made of bicarbonate of soda and water to lift grime through gentle scrubbing, rinse thoroughly, and then treat the area separately with lemon juice if your tile surface is not natural stone.
Still patchy? That is normal on older grout. Grout pens are a brilliant cosmetic fix: they recolour dull or uneven lines instantly, no harsh chemicals or scrubbing required. Think of them as a whitening top-up rather than a deep clean, perfect for finishing touches once your grout is properly clean and dry.
How Professionals Clean Grout and When to Regrout
Professional cleaners don’t simply spray and scrub. They start by assessing the joint, then choose the best cleaning methods for what they find.
What a pro actually does on blackened grout
On blackened grout, a pro tests whether the staining is surface-level or has soaked into the material. Surface grime responds to strong, targeted grout cleaners and steam, applied section by section for full coverage. If that first pass barely lifts the colour, it’s a sign the staining has gone deeper. Only then do they consider stripping the old grout and refilling, rather than reaching straight for regrouting as a default fix.
Clean or regrout: knowing the threshold
Not every dark joint needs replacing. Here’s the simple rule pros use:
| Clean the grout if… | Regrout instead if… |
|---|---|
| It’s stained but solid and intact | It’s crumbling, cracked or powdery |
| Mould on grout responds well to cleaning | Mould keeps returning within days |
| The surface just looks dull or grey | Water is seeping through to the wall or subfloor |
If your grout ticks the left column, a clean will do the job.
How to Keep Grout Clean and Prevent Mould
Prevention beats scrubbing every time. A few small habits keep grout lines looking fresh for months instead of weeks.
- Daily: Dry tiles after showers with a squeegee or towel to stop moisture soaking into grout.
- Weekly: Ventilate the room (open a window or run the extractor fan) and wipe away soap scum before it hardens.
- Yearly: Apply a grout sealer to create a protective barrier that reduces staining and mould in the long run.
For a fast weekly refresh, mix bicarbonate of soda with a little water into a paste, run it along the grout lines, and rinse. It’s a simple quick fix that stops dirt building up between deeper cleans.
FAQ
Is Pink Stuff good for cleaning grout?
Mildly abrasive cleaning pastes can lift everyday grime from grout. Use a small amount, scrub gently, rinse well, and test first on coloured grout.
What is the best thing to clean your grout with?
For most homes, a baking soda paste or a dedicated grout cleaner does the job well. Just match the product to your tile type: gentler formulas for natural stone, stronger ones for ceramic or porcelain.
When to clean grout after tiling or applying?
Check the curing time on the grout packaging before cleaning, as it varies from one product to another. Giving the material sufficient time to set prevents it from weakening, protecting the durability of your new tile installation.
Sources:
- GOV.UK (OHID / UKHSA), Understanding and addressing the health risks of damp and mould in the home
- UK Health Security Agency, Sodium hypochlorite: general information
- LATICRETE, Stone & Tile Care Guide
- Natural Stone Institute