Summarise this article with:
 ChatGPT
 Mistral
 Claude
 Perplexity
 Grok
Grok
If your morning coffee has started tasting a little flat, bitter or just off, your machine is probably overdue a clean. Knowing how to clean a Keurig properly is the difference between a smooth, fresh brew and a cup pulled through weeks of coffee oils, limescale and — in the worst cases — mould. The good news? You don’t need any specialist kit. With about 30 minutes, some white vinegar and a bit of warm, soapy water, you can have your machine running like new again.
Below you’ll find a simple, step-by-step routine covering everything from washing the removable parts to descaling the inside, plus what to do if you’ve run out of descaling solution.
Why cleaning your Keurig matters
A Keurig is warm, damp and dark inside — pretty much the perfect environment for bacteria, mould and mineral deposits to build up between uses. The water reservoir, the internal tubing and the needle that pierces each K-Cup all collect residue you can’t easily see. Over time, hard water leaves behind limescale (or “scale”) that slows the water flow, throws off your cup size and can eventually clog the machine completely.
Regular cleaning keeps your coffee tasting the way it should and helps the machine last longer. As a rule of thumb, wipe down and rinse the removable parts every week or two, and do a full descale every three to six months — more often if you’re in a hard-water area.
What you’ll need
Before you start, gather a few basics you almost certainly already own:
- White vinegar (or a shop-bought descaling solution)
- Washing-up liquid and warm water
- A microfibre cloth or paper towels
- An old toothbrush and a straightened paperclip
- A large mug to catch the water
That’s it. If you’d rather use a gentler acid, citric acid for cleaning works beautifully as a descaler and leaves far less of a lingering smell than vinegar.
How to clean a Keurig: the 5-step method
Step 1: Unplug and wash the removable parts
Safety first — water and electricity don’t mix, so always unplug your Keurig before you start. Remove the water reservoir and its lid, the drip tray, and the K-Cup pod holder. Wash them in warm water with a little washing-up liquid, just as you would ordinary dishes (many parts are also top-rack dishwasher safe). If your reservoir has a water filter, take it out first and set it aside. Leave everything to air dry while you tackle the machine itself.
Step 2: Clean the needle and pod holder
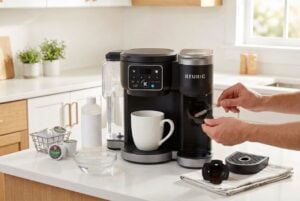
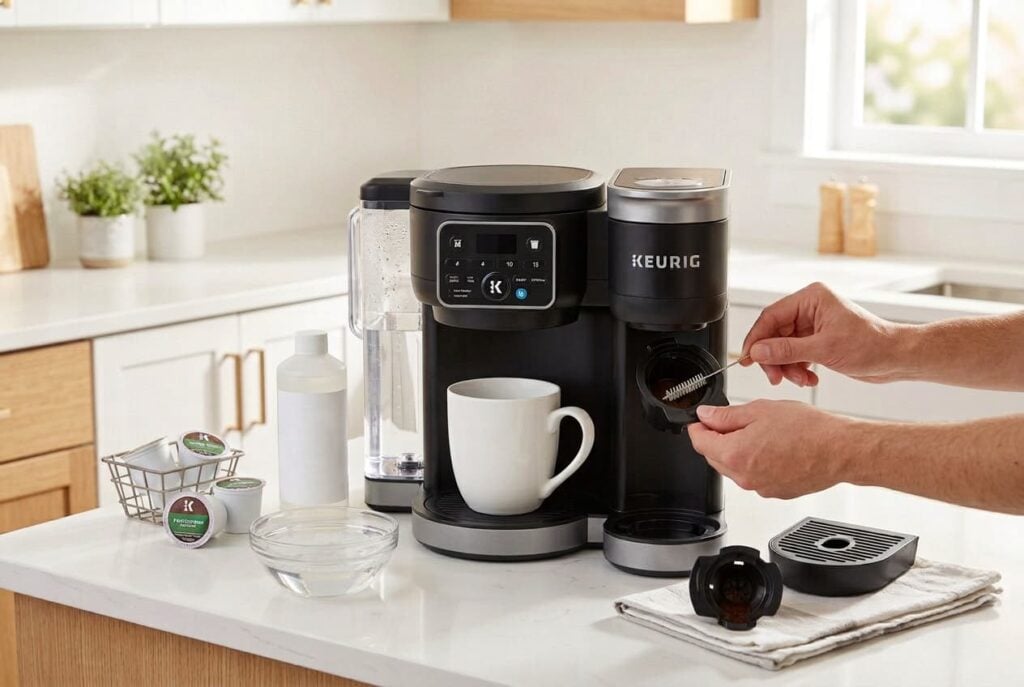
This is the grimiest part of the machine and the one most people skip. Lift the handle and gently push the K-Cup holder out from beneath — yes, it really does come out. There’s a sharp entrance needle up top and an exit needle in the holder, and both clog easily with coffee grounds. Straighten a paperclip and carefully wiggle it into each needle opening to dislodge trapped debris. An old toothbrush is perfect for scrubbing residue from the crevices. Rinse the pod holder under hot water and pop it back in place.
Step 3: Wipe down the exterior and drip tray
Give the outside of the machine a wipe with a damp microfibre cloth and a touch of dish soap to lift dried coffee splashes. Empty and rinse the drip tray — spilled coffee pools here and, left for weeks, it’s a breeding ground for mould and odours. These are quick daily jobs that make the bigger cleans far easier.
Step 4: Descale with white vinegar
Now for the important bit. Fill the empty reservoir with a 50/50 mix of white vinegar and water — roughly half vinegar, then top up with water. Don’t overfill with vinegar or you’ll be chasing the taste for days. Place your large mug on the drip tray, plug the machine back in, and run brew cycles (with no pod) until the reservoir is empty, tipping each mug into the sink as you go. Then switch the machine off and let it rest for about 30 minutes so the solution can work on the mineral deposits inside. This descaling step is exactly the same principle you’d use to descale a kettle — the acid simply dissolves the limescale.
Step 5: Rinse thoroughly
Empty the reservoir, refill it with fresh water only, and run several more brew cycles to flush every trace of vinegar out of the system. It can take a good handful of cycles before the smell disappears completely, so don’t rush it — the last thing you want is vinegar in your first proper cup. Refit the clean, dry filter, and you’re ready to brew.
How to clean a Keurig without descaling solution
No vinegar or shop-bought solution to hand? You have options. Dissolve a quarter-cup of baking soda in enough water to fill the reservoir, run it through a cycle or two, then rinse well with fresh water. A 1:1 mix of lemon juice and water works the same way and smells far nicer. Citric acid is another excellent choice — it’s the same active ingredient found in many branded descalers. Even apple cider vinegar will do the job in a pinch, though white vinegar is cheaper and more neutral in flavour.
How to tackle mould in the water reservoir
If you spot slimy patches or dark spots at the bottom of the reservoir, tip out any water straight away. Scrub the container thoroughly with warm, soapy water and dry it completely before refitting. Resist the urge to reach for bleach, even though it’s tempting — it’s difficult to rinse fully from a part that touches your drinking water. You may need to wash it more than once. For stubborn, spreading growth elsewhere in the kitchen, our guide to tackling black mould covers safer, longer-term fixes.
How often should you clean a Keurig?
Here’s a simple maintenance schedule to keep things fresh:
- Daily: empty the drip tray, remove used K-Cups, wipe the exterior
- Weekly: hand-wash the reservoir, lid and pod holder with soapy water
- Every 2 months: replace the water filter (if your model has one)
- Every 3–6 months: run a full descale with white vinegar or descaling solution
Sticking to this routine keeps limescale, mould and stale coffee oils at bay — and it’s a natural extension of the kitchen cleaning hacks that keep the rest of your worktop sparkling. A clean machine simply makes better coffee, cup after cup.
FAQ
What is the best way to clean a Keurig machine?
Think of it in three parts: wash the removable parts in warm, soapy water, clear the entrance and exit needles with a paperclip, then descale the inside with a 50/50 white vinegar and water mix. Finish with several fresh-water rinse cycles to remove any taste.
Can I use vinegar for Keurig’s descaling?
Yes. White vinegar is acidic enough to dissolve limescale but gentle on the machine’s internal parts. Use equal parts vinegar and water, run it through the brew cycle, let it sit for 30 minutes, then rinse thoroughly with clean water.
How do I run a cleaning cycle on a Keurig?
On many models you activate descale mode by pressing and holding the CUPS and OZ buttons together for about 3 seconds, then pressing the flashing BREW button. Button combinations vary by model, so check your manual — but the manual vinegar method above works on any Keurig with a water reservoir.
What can I substitute for Keurig descaling solution?
White vinegar is the most popular substitute, but baking soda (a quarter-cup dissolved in water), a 1:1 lemon juice and water mix, or citric acid all work well. Whichever you choose, always follow up with a few plain-water rinse cycles.
Why is my Keurig not brewing properly?
If your machine is sputtering or brewing slowly when it used to run smoothly, it usually means limescale or coffee grounds are blocking the needles or internal tubing. A full descale and a paperclip needle-clean will normally fix it.
How do I clean the exit needle on a Keurig?
Lift the handle, push the K-Cup holder out from underneath and separate the funnel. Gently insert a straightened paperclip into the exit needle opening and wiggle it to release trapped grounds, then rinse the holder under hot water before refitting.