Summarise this article with:
 Claude
We spend roughly a third of our lives on our mattresses, yet most of us rarely think about cleaning them properly. We do this while keeping your health and comfort at the heart of everything, making mattress care simple and effective.
Why Clean Your Mattress Regularly?
Your mattress collects more than you might think. Dead skin cells, sweat, dust mites, and allergens build up over time, creating an unhealthy sleep environment that affects both your rest and wellbeing.
Regular mattress cleaning offers significant benefits:
- Reduces allergens and dust mites that trigger asthma, sneezing, and respiratory issues
- Eliminates unpleasant odours from sweat, spills, and body oils
- Extends your mattress lifespan by preventing material degradation and wear
- Improves sleep quality by creating a fresh, hygienic sleeping surface
- Maintains indoor air quality by removing accumulated dust and debris
Professional cleaning services can tackle deep-seated dirt that regular vacuuming cannot reach. We recommend cleaning your mattress every six months (or quarterly if you have allergies or pets).
Remember: your mattress is a significant investment. Proper care protects that investment while ensuring you wake up refreshed in a clean, healthy environment.
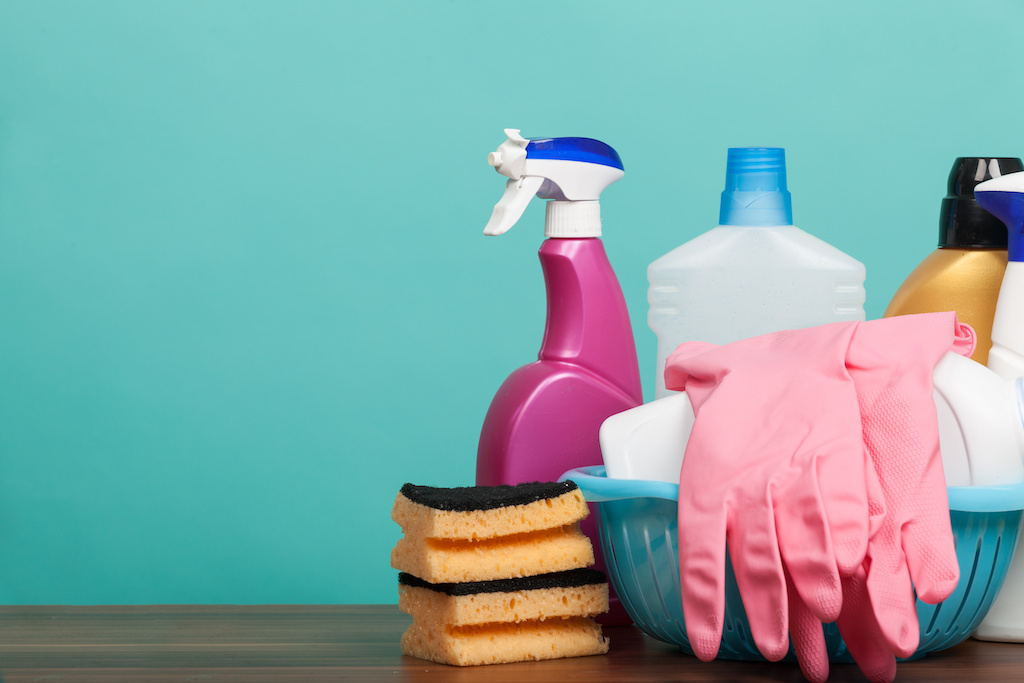
What You’ll Need: Essential Cleaning Supplies
Gathering the right supplies beforehand makes your cleaning session smooth and effective. You’ll need basic household items that work together to tackle different cleaning challenges.
Core cleaning essentials:
- Vacuum cleaner with upholstery attachment for removing dust and debris
- Baking soda (at least one cup) for deodorising and absorbing moisture
- White vinegar mixed with warm water in a spray bottle for natural disinfecting
- Mild detergent or gentle cleaning solution for spot treatment
Additional supplies for deeper cleaning:
- Damp cloths and clean towels for blotting and wiping
- Essential oil (lavender or eucalyptus) for fresh scent
- Hydrogen peroxide for tough stains like blood
Most of these items are already in your home. If you prefer professional-grade results without the hassle, our expert cleaning services provide all necessary equipment and products.
Strip Your Bed and Prepare the Space
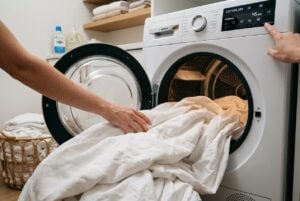
Remove All Bedding and Wash at High Temperature
Start by stripping everything from your mattress protector to pillowcases. This step creates a clean workspace and prevents cross-contamination during the cleaning process.
Washing temperatures by fabric type:
| Fabric Type | Temperature | Method |
|---|---|---|
| Cotton sheets | 60°C | Washing machine hot cycle |
| Synthetic blends | 40-50°C | Warm wash with extra rinse |
| Duvet covers | Check care instructions | Follow fabric guidelines |
High temperature washing eliminates dust mites and bacteria that regular washing cannot reach. While your bedding cycles through the washing machine, you’ll have few hours to focus on the entire mattress without distractions.
Important thing to remember: always check labels before selecting temperature settings. Some materials require gentler treatment to avoid damage.
Create Proper Ventilation for Faster Drying
Good ventilation transforms your drying time from hours to a much faster process. Without proper airflow, even a small amount of moisture can create the perfect environment for mould and unpleasant smell.
Best ways to boost ventilation:
- Open multiple windows to create cross-ventilation throughout the room
- Position fans strategically – one blowing air onto the mattress, another pulling humid air away
- Use a dehumidifier to reduce moisture levels, especially helpful for memory foam mattress types
Direct sunlight works wonders if you can safely move your mattress outdoors. UV rays naturally kill bacteria while excess moisture evaporates quickly. Can’t manage outdoor drying? No worries – a well-ventilated room with good airflow does the job.
Pro tip: Place your mattress on its side against a wall to expose both surfaces to airflow. This technique works brilliantly for a sided mattress and speeds up the entire process.
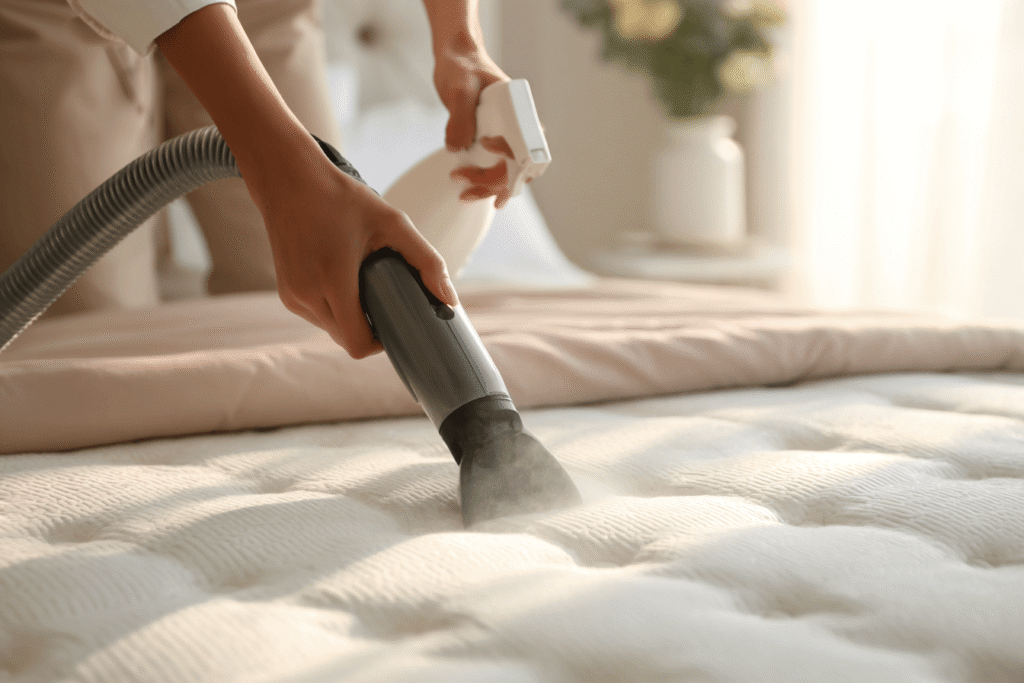
Vacuum Your Mattress Thoroughly
Use the Right Attachment for Best Results
Your vacuum’s upholstery attachment makes all the difference between surface cleaning and deep dust removal. The soft brush bristles gently agitate mattress fibres without damage, while creating better suction for embedded particles.
Attachment comparison for different cleaning needs:
| Attachment Type | Best For | Technique |
|---|---|---|
| Upholstery brush | General surface cleaning | Slow, overlapping strokes |
| Crevice tool | Seams and tight corners | Direct suction into gaps |
| Wide nozzle | Large flat surfaces | Steady back-and-forth motion |
Key technique points:
- Work in small sections using gentle, overlapping passes
- Allow the attachment to do the work – excessive pressure reduces suction efficiency
- Switch between attachments as needed rather than forcing one tool for everything
Remember to check your attachment is clean before starting. A dusty tool simply redistributes dirt rather than removing it from your mattress surface.
Focus on Seams, Corners and Hidden Crevices
These hidden areas harbour the most dust, dead skin cells and debris that regular cleaning misses. Dust mites love these undisturbed spaces, making thorough attention here absolutely essential.
Target these problem areas:
- Mattress edges where the top meets the sides
- Quilted seams running across the surface
- Corner joints and piping details
- Head and foot section crevices
Switch to your crevice tool for maximum suction power in tight spots. Work slowly along each seam, allowing the tool to pull out embedded particles. For stubborn debris, gently stretch the fabric slightly to open seams wider.
Person with pets on the bed should pay extra attention here – pet hair and dander collect heavily in these areas, creating chances for allergens to build up despite your best efforts.
How Do You Remove Yellow Stains from a Mattress?
Tackle Sweat and Body Oil Stains
Sweat stains might seem like a daunting task, but the right approach makes them manageable. These yellowish marks develop from body oils and perspiration that oxidise over time, creating stubborn discolouration.
Effective cleaning options without harsh chemicals:
- Baking soda paste: Mix three parts baking soda with one part water, apply to stains, leave for 30 minutes then vacuum
- Vinegar solution: Combine equal parts white vinegar and water in a spray bottle, mist lightly and blot with clean cloth
- Gentle detergent mix: One part washing-up liquid to ten parts lukewarm water for older, set-in stains
Always blot rather than rub to prevent pushing stains deeper into your mattress fibres. Allow complete drying between treatments – patience prevents damage to your new mattress investment and ensures thorough stain removal.
Remove Blood Stains with Cold Water Method
Speed matters when tackling blood stains – fresh stains lift far easier than dried ones. Cold water prevents proteins from setting permanently, whilst hot water locks them into your mattress fibres forever.
Simple cold water technique:
- Blot first – press a clean cloth against the stain to absorb excess blood
- Dab gently with cold water using a fresh cloth section each time
- Work outwards from the stain centre to prevent spreading
- Repeat until no more blood transfers to your cloth
For stubborn spots, combine cold water with a drop of washing-up liquid. Apply the mixture, leave for 10 minutes, then blot away with clean, cold water.
Essential reminder: Never rub or scrub – this pushes blood deeper into the mattress layers where removal becomes nearly impossible.
Clean Urine Stains and Eliminate Odours
Urine accidents require immediate attention to prevent permanent damage and lingering smells. Whether from pets or little ones, you can get urine out of a mattress effectively with household items.
What you’ll need:
| Item | Purpose |
|---|---|
| White vinegar | Neutralises odours and breaks down uric acid |
| Baking soda | Absorbs moisture and eliminates smells |
| Clean cloths | For blotting excess liquid |
| Spray bottle | Even application of cleaning solution |
Your cleaning process:
- Blot immediately – press clean cloths against wet areas to absorb liquid
- Mix equal parts white vinegar and water in your spray bottle
- Spray lightly over the affected area and let sit for 10 minutes
- Sprinkle baking soda generously across the treated spot
- Leave overnight to absorb remaining odours completely
- Vacuum thoroughly the next morning to remove all residue
This method works brilliantly for both fresh accidents and older stains that have already set.
Does Baking Soda Really Clean a Mattress?
Deodorise with Baking Soda Treatment
Baking soda transforms your mattress from musty to fresh without harsh chemicals. This natural deodoriser absorbs moisture, neutralises odours, and costs pennies compared to commercial products.
Simple application method:
- Sprinkle baking soda evenly across your entire mattress surface
- Allow 30 minutes minimum for light refreshing (overnight for stubborn smells)
- Vacuum thoroughly using your upholstery attachment
The longer you leave baking soda, the more effective the treatment becomes. For best results, open windows during application – fresh air circulation helps lift absorbed odours away from your sleeping space.
Pro tip: Mix a few drops of lavender oil with your baking soda beforehand for added freshness that lasts several nights.
Add Essential Oils for Fresh Scent
Transform your baking soda treatment into an aromatic experience with carefully chosen essential oils. These natural fragrances don’t just mask odours – they actively combat bacteria whilst creating a pleasant sleeping environment.
Best oils for mattress freshening:
| Essential Oil | Benefits |
|---|---|
| Lavender | Promotes relaxation and has antibacterial properties |
| Tea tree | Natural antimicrobial and dust mite deterrent |
| Eucalyptus | Fresh scent with purifying qualities |
Application method:
- Add 10-15 drops to your cup of baking soda
- Mix thoroughly in a jar before sprinkling
- Focus on areas where you sleep most frequently
- Allow 2-3 hours for oils to penetrate and work effectively
The combination creates a powerful deodorising treatment that leaves your mattress smelling fresh for weeks rather than days.
Deep Clean with Steam and Professional Methods
When to Use Steam Cleaning Techniques
Steam cleaning works best for specific situations where deep sanitisation matters most. Heavy staining, persistent odours, or allergen concerns make this method your strongest choice.
Prime candidates for steam treatment:
| Situation | Why Steam Works |
|---|---|
| Pet accidents or urine stains | Heat breaks down uric acid completely |
| Dust mite infestations | High temperatures eliminate mites and eggs |
| Sweat and body oil buildup | Steam penetrates deep into mattress layers |
| After illness recovery | Sanitises without harsh chemicals |
Timing considerations matter greatly – steam clean when you can allow 6-8 hours drying time. Never attempt this method late in the day unless you have alternative sleeping arrangements.
Avoid steam cleaning memory foam or latex mattresses, as excessive heat damages these materials permanently.
Professional Cleaning vs DIY Approaches
Choosing between professional services and tackling the job yourself depends on your specific situation and expectations.
DIY cleaning suits regular maintenance and fresh stains. You control the process, use household products, and save money immediately. However, deep-seated stains and stubborn odours often resist home methods.
| Approach | Best For | Time Required |
|---|---|---|
| DIY | Light stains, regular freshening | 2-3 hours plus drying |
| Professional | Heavy staining, allergen removal | 1 hour service, 4-6 hours drying |
Professional cleaning delivers specialist equipment and expertise that household methods cannot match. Steam cleaning, industrial-grade solutions, and trained techniques tackle problems DIY approaches leave behind.
When to call professionals:
- Persistent odours despite multiple attempts
- Large or set-in stains covering significant areas
- Allergy sufferers needing thorough dust mite elimination
Your mattress investment deserves the right approach for your particular needs.
How Do You Clean a Memory Foam Mattress?
Special Care for Memory Foam Materials
Memory foam demands a gentler approach than traditional mattresses due to its dense, absorbent structure.
Never saturate memory foam – excessive moisture penetrates deep into the layers and takes days to dry completely. This creates perfect conditions for mould and bacteria growth that can permanently damage your mattress.
| Memory Foam Care | Method |
|---|---|
| Stain removal | Blot with barely damp cloth and mild detergent solution |
| Drying technique | Air dry completely before use – allow 6-8 hours minimum |
| Cleaning frequency | Spot clean immediately, deep clean every 6-12 months |
Essential precautions:
- Use minimal liquid – memory foam absorbs like a sponge
- Avoid harsh chemicals including bleach or hydrogen peroxide
- Never use steam cleaners on memory foam materials
- Check manufacturer care instructions first
Patience pays off with memory foam – thorough drying prevents costly damage and ensures your mattress maintains its supportive properties for years.
Avoid Water Damage and Ensure Proper Drying
Water poses the biggest threat to memory foam longevity, but proper drying techniques protect your investment completely.
Immediate moisture control prevents permanent damage that ruins even expensive mattresses. Blot spills immediately with clean, dry towels – never rub or press liquid deeper into the foam layers.
| Drying Method | Time Required | Best For |
|---|---|---|
| Natural air circulation | 6-8 hours | Light cleaning, spot treatments |
| Fan-assisted drying | 3-4 hours | Faster results, humid conditions |
| Dehumidifier support | 4-6 hours | Winter months, poor ventilation |
Quick drying checklist:
- Remove all bedding and covers first
- Position near open windows when weather permits
- Use multiple fans for cross-ventilation
- Check completely dry before replacing sheets
The foam structure requires thorough drying to prevent mould growth that creates health risks and destroys your mattress permanently.
Disinfect and Sanitise Your Mattress
Proper disinfection eliminates bacteria, dust mites and allergens that regular cleaning leaves behind.
Steam cleaning offers the most thorough sanitisation without chemicals. Hold your handheld steamer 6-8 inches from the surface, working in short bursts across the entire mattress. The high temperature kills germs whilst lifting stubborn odours.
Antibacterial spray methods:
- Fabric-safe disinfectant sprays work brilliantly for quick sanitisation
- Lightly mist the surface without soaking the material
- Allow proper drying time before replacing bedding
Natural disinfection options:
- White vinegar in a spray bottle tackles bacteria effectively
- Hydrogen peroxide removes organic stains whilst disinfecting
- UV sunlight provides natural sanitisation when weather permits
Choose your method based on mattress type and cleaning needs – steam works best for deep sanitisation, whilst sprays suit regular maintenance between deep cleans.
Flip, Rotate and Complete the Process
Regular rotation keeps your mattress wearing evenly and extends its lifespan significantly. Most mattresses benefit from a 180-degree rotation every three to six months – simply turn it head to foot.
Flipping requirements depend entirely on your mattress type:
| Mattress Type | Rotation | Flipping |
|---|---|---|
| Memory foam | Every 6 months | Never flip |
| Innerspring (double-sided) | Every 3 months | Flip quarterly |
| Hybrid/one-sided | Every 3-6 months | Rotation only |
Quick rotation steps:
- Strip all bedding first
- Grab the head end and rotate 180 degrees
- Centre the mattress on your bed frame
- Replace with fresh, clean bedding
This simple maintenance ritual keeps your sleep surface feeling fresh and supportive for years longer than neglected mattresses.
Protect Your Investment: Prevention Tips
Choose the Right Mattress Protector
What makes one mattress protector better than another? The answer lies in matching the right features to your specific needs and sleeping habits.
Material matters most for comfort and durability. Cotton protectors offer breathability for warm sleepers, whilst waterproof options with polyurethane backing prevent spills and accidents. Bamboo blends provide natural antibacterial properties – brilliant for allergy sufferers.
| Protector Type | Best For | Key Benefit |
|---|---|---|
| Cotton | Hot sleepers | Maximum breathability |
| Waterproof | Families, pets | Spill protection |
| Bamboo | Allergies | Natural antimicrobial |
Fit and maintenance determine long-term satisfaction. Deep pocket designs accommodate thicker mattresses without slipping, whilst machine-washable options save time and money. Check the care label before purchasing – some require special cleaning that defeats the purpose of easy maintenance.
Choose wisely now, and your mattress stays protected for years whilst you enjoy cleaner, healthier sleep every night.
Maintain Regular Cleaning Schedule
Consistency transforms mattress care from overwhelming chore to simple routine that protects your sleep investment.
Weekly maintenance keeps problems manageable:
- Strip and wash bedding in hot water
- Quick vacuum of mattress surface
- Check for new stains or odours
| Frequency | Tasks | Time Required |
|---|---|---|
| Weekly | Bedding wash, surface vacuum | 10 minutes |
| Monthly | Deep vacuum, spot clean stains | 20 minutes |
| Every 6 months | Full deep clean, rotate mattress | 2-3 hours |
Monthly deep maintenance prevents major cleaning sessions. Focus on seams and crevices where dust accumulates, treating any spots immediately before they set permanently.
Your regular schedule means better sleep quality and a mattress that lasts years longer than neglected ones.
You can also see our full article on how often you should change your mattress.
When to Call Professional Cleaners
Stubborn stains and persistent odours signal the time for professional intervention rather than continued DIY attempts.
Deep infestations require specialist equipment that home cleaning cannot match. Dust mites, bed bugs, or mould growth need professional-grade steam cleaning and UV sanitisation to eliminate completely.
Consider professional services when:
- Stains persist after multiple cleaning attempts
- Strong odours remain despite thorough deodorising
- Allergies worsen despite regular maintenance
- Memory foam shows water damage or discolouration
Valuable mattresses deserve professional care to maintain warranties and extend lifespan. Professional cleaners use specialised techniques that protect your investment whilst delivering results home methods cannot achieve.