Résumer cet article avec :
 Claude
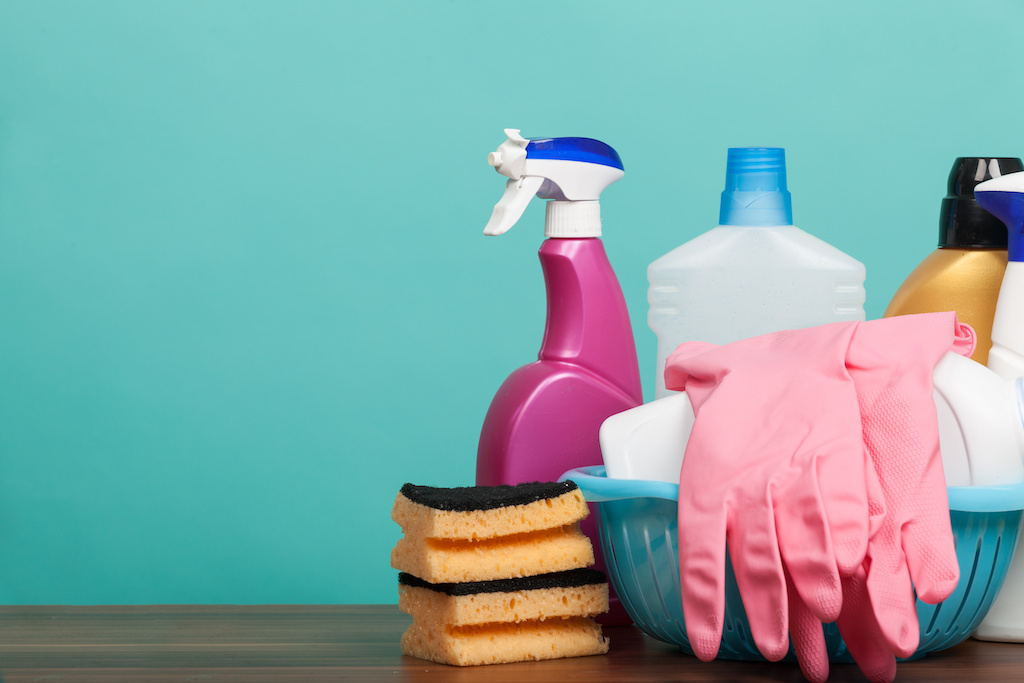
Accidents happen to everyone, and when they do, knowing how to properly remove urine from your mattress can save you from costly replacements. We understand that dealing with urine stains and odours can feel overwhelming, whether it’s from children, pets, or other circumstances. Our comprehensive guide walks you through proven methods using common household items to restore your mattress to its former freshness.
Act Fast: First Steps When Accidents Happen
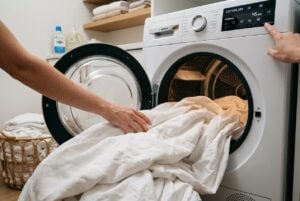
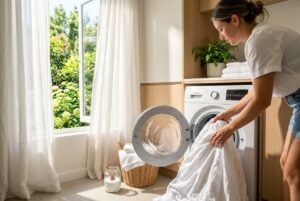
Strip and Blot Immediately
Speed is your best friend when tackling fresh urine accidents. Here’s what you need to do right now:
Remember: blot, don’t rub. Your mattress will thank you for it.
What Not to Do (Common Mistakes to Avoid)
Making the wrong move can turn a manageable situation into a permanent problem. Here are the key mistakes that make stain removal much harder:
- Never use warm water or hot water – heat sets urine stains permanently into mattress fibres
- Don’t scrub or rub the area – this pushes liquid deeper into foam layers where it’s impossible to reach
- Avoid harsh chemicals like bleach – these can damage mattress materials and create toxic fumes
- Don’t oversaturate with solution – too much moisture leads to mould growth inside your mattress
- Never use a hairdryer or direct heat – this locks in odours and can damage foam structure
The golden rule? Blot gently, use cool solutions sparingly, and let everything air dry completely. These simple guidelines prevent turning a small accident into a costly mattress replacement.
How Do I Clean Urine From a Mattress?
The Vinegar Solution Method
White vinegar breaks down the uric acid in human urine, making this household staple one of your most effective weapons against fresh stains. This method works best when applied within the first few hours of an accident.
What you’ll need:
- White vinegar
- Cold water
- Spray bottle
- Clean towels
The process:
- Mix your solution – combine equal parts white vinegar and water in a spray bottle
- Spray generously over the affected area, ensuring the solution penetrates the mattress surface
- Let it work for 10-15 minutes to break down the stain
- Blot thoroughly with clean towels to remove excess moisture
The vinegar smell disappears as your mattress dries completely. For stubborn stains, add a few drops of dish soap to boost cleaning power.
Hydrogen Peroxide Treatment
For stubborn stains that vinegar can’t budge, hydrogen peroxide provides the heavy-duty cleaning power you need. This method works brilliantly on old urine stains and delivers best results when dealing with dried accidents from your little one or pet.
Essential supplies:
- 3% hydrogen peroxide (8 fl oz)
- Baking soda (3 tablespoons)
- Dish soap (few drops)
- Spray bottle
- Clean cloths
| Step | Action | Time |
|---|---|---|
| 1 | Mix all ingredients in spray bottle | 2 minutes |
| 2 | Spray generously over stain | 1 minute |
| 3 | Allow solution to work and dry completely | 2-4 hours |
| 4 | Vacuum residue thoroughly | 5 minutes |
Important: Test on a hidden area first – hydrogen peroxide can lighten darker fabrics. Never use on memory foam mattresses as it may cause damage.
Enzyme Cleaner Application
Enzyme cleaners represent the gold standard for tackling bedwetting incidents and pet accidents. These biological powerhouses work by breaking down uric acid crystals that regular cleaners simply can’t touch.
Why enzyme cleaners are your best bet: • Target organic stains at molecular level • Eliminate odours rather than masking them
• Safe for all mattress types including memory foam • Effective ways to handle both fresh and set-in stains
Application technique: Apply the cleaner generously – you need sufficient quantity to penetrate as deeply as the original accident. Allow longer time for the enzymes to work their magic (minimum 10-15 minutes). Blot gently with clean cloths, then let your mattress air dry completely.
The first thing you’ll notice? That strong smell disappears entirely once the enzymes finish their job. With proper application, your mattress returns to its former glory – no wet patches or lingering odours.
How Do I Remove Urine Stains Out of a Mattress?
Fresh Stain Removal Technique
When you catch urine accidents within the first hour, simple household items can work wonders.
Quick action supplies:
- Paper towels or clean cloths
- Cold water
- Mild dish soap
- Spray bottle
Start by blotting firmly – press down to absorb maximum liquid without spreading the stain wider. Create a gentle cleaning solution using one teaspoon of dish soap mixed with one cup of cold water.
Spray lightly over the affected area and let it sit for 5 minutes. The soap breaks down proteins whilst cold water prevents the stain from setting permanently.
Pro tip: A waterproof mattress protector prevents future accidents from reaching your mattress fibres, especially useful when dealing with a child during potty training. Blot again with fresh towels, working from outside edges inward to avoid enlarging the stain.
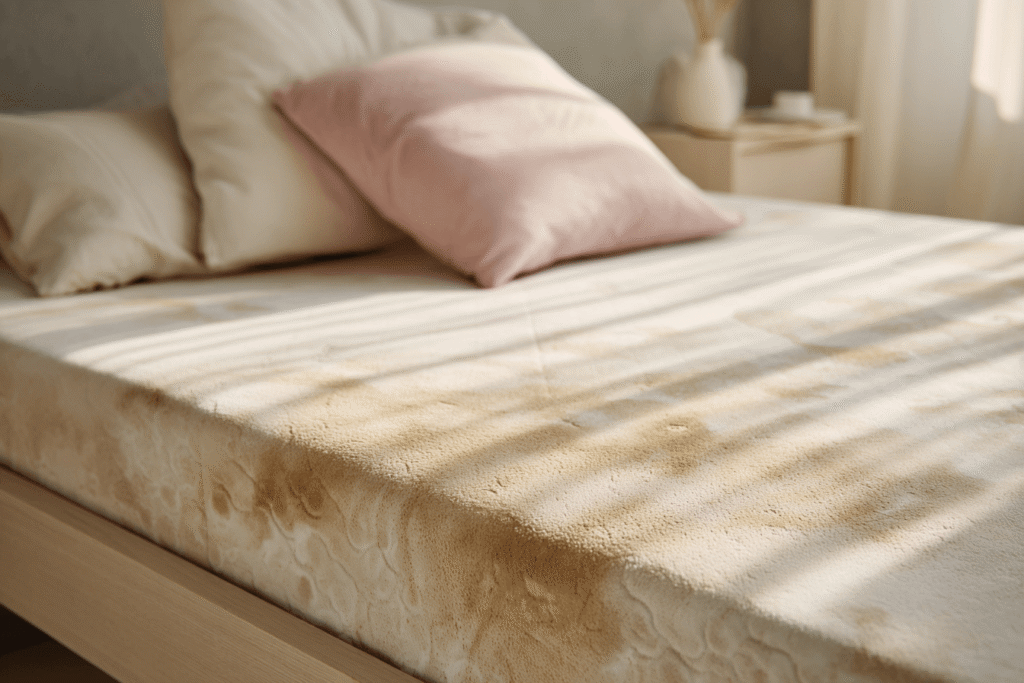
How Do I Get Dried Urine Out of a Mattress?
Dried urine requires a more aggressive approach than fresh accidents. Set-in stains need extra time and patience to lift completely.
Your arsenal for dried stains:
- White vinegar solution (equal parts water and vinegar)
- Clean spray bottle
- Plastic wrap or cling film
- Patience for extended treatment time
Saturate the dried stain generously with your vinegar solution – don’t hold back here. Cover the wet area with plastic wrap to prevent evaporation and allow the solution to work deeply into the mattress fibres.
Leave this treatment for at least 24 hours. The extended contact time breaks down the crystallised uric acid that makes dried stains so stubborn. Remove the plastic wrap and let the area air dry completely before assessing whether you need a second round of treatment.
How Do I Remove Urine Smell From a Mattress?
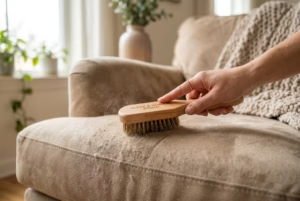
Baking Soda Deodorising Method
Baking soda transforms from kitchen staple to odour-elimination powerhouse thanks to its alkaline properties that neutralise acidic urine compounds.
What you’ll need:
- Baking soda (generous amount)
- Vacuum cleaner with upholstery attachment
- Clean cloths for blotting
The process:
| Step | Action | Timing |
|---|---|---|
| 1 | Blot excess moisture thoroughly | Immediate |
| 2 | Sprinkle baking soda generously over affected area | – |
| 3 | Allow baking soda to absorb odours | 8-24 hours |
| 4 | Vacuum thoroughly to remove all residue | – |
Key success factor: Don’t skimp on the baking soda – cover the entire stain area completely. The longer you leave it, the more effective the deodorising action becomes.
If odours persist after your first attempt, repeat the process. Sometimes stubborn smells need multiple rounds to disappear entirely.
When Odours Persist: Advanced Solutions
Sometimes home remedies aren’t enough for deeply embedded smells. Commercial enzyme cleaners designed specifically for urine offer professional-strength results when DIY methods fall short.
Top-performing products include:
- Nature’s Miracle Advanced Stain and Odour Remover – breaks down uric acid crystals at molecular level
- Vivactive 3-in-1 Urine Stain & Odour Remover – uses friendly bacteria to digest organic matter
- Professional Strength Mattress Cleaners – probiotic formulations for stubborn odours
For severe cases, consider steam cleaning your entire mattress. The high-temperature treatment penetrates deep into fibres, killing bacteria that cause persistent smells.
When all else fails: Sprinkle activated charcoal powder over the affected area, leave overnight, then vacuum thoroughly. This method absorbs even the most stubborn odours that resist other treatments.
Pet Accidents: Special Cleaning Considerations
How Do I Get Cat Urine Out of a Mattress?
Cat urine presents unique challenges thanks to felinine – an amino acid that creates those particularly stubborn odours.
Immediate action steps:
- Blot thoroughly with paper towels (never rub)
- Apply enzyme cleaner generously to saturate the area
- Work the cleaner into fibres with gentle dabbing motions
| Treatment | Application Time | Why It Works |
|---|---|---|
| Enzyme cleaner | 24-48 hours | Breaks down felinine proteins |
| White vinegar solution | 15 minutes | Neutralises ammonia compounds |
Pro tip: Cover treated areas with plastic wrap to prevent evaporation – this extends contact time for maximum effectiveness.
The golden rule with cat accidents? Never use ammonia-based products. Cats interpret ammonia scents as approval for repeat performances in the same spot.
Dog Urine Removal Best Practices
Dog accidents require swift action because canine urine contains higher protein levels than human waste, making it stickier and more challenging to remove completely.
Essential cleaning supplies:
- White vinegar (3 parts) mixed with water (1 part)
- Enzyme cleaner designed for pet stains
- Baking soda for odour absorption
- Clean towels for blotting
| Step | Action | Why It Matters |
|---|---|---|
| 1 | Blot immediately with paper towels | Prevents deeper penetration |
| 2 | Apply vinegar solution generously | Breaks down uric acid compounds |
| 3 | Let sit for 15 minutes minimum | Allows solution to penetrate fibres |
| 4 | Sprinkle baking soda over area | Neutralises remaining odours |
Success secret: Work from outside edges toward the centre when blotting. This prevents the stain from spreading and makes removal more effective.
Different Mattress Types: Tailored Approaches
How Do I Get Urine Out of Memory Foam?
Memory foam’s dense structure absorbs liquids quickly, making prompt action absolutely vital. The key difference? Apply gentle pressure when blotting to draw urine from the foam without pushing it deeper.
Cleaning approach for memory foam:
- Blot with firm pressure using clean towels – unlike spring mattresses, memory foam needs compression to release trapped liquid
- Mix equal parts white vinegar and warm water in a spray bottle for your cleaning solution
- Saturate the area lightly – avoid soaking as memory foam takes much longer to dry than other materials
| Memory Foam Consideration | Why It Matters |
|---|---|
| Never oversaturate | Dense foam retains moisture, risking mould growth |
| Allow 24-48 hours drying time | Trapped moisture needs complete evaporation |
Finish with baking soda sprinkled generously over the treated area. Leave for 10+ hours before vacuuming to neutralise any remaining odours and draw out residual moisture.
Spring Mattress Cleaning Methods
Spring mattresses offer better ventilation than foam alternatives, making them easier to dry but requiring thorough cleaning to prevent seepage between coils.
Quick absorption technique: Place several towels over the affected area and press firmly. The spring system allows better liquid distribution, so work systematically across the entire stain zone.
| Cleaning Solution | Best For | Application Method |
|---|---|---|
| Vinegar + water (1:1) | Fresh accidents | Spray lightly, blot after 10 minutes |
| Baking soda paste | Odour removal | Apply thick layer, leave 2+ hours |
| Hydrogen peroxide mix | Set-in stains | Spray sparingly, monitor for bubbling |
Advantage of spring mattresses: You can flip them during cleaning, allowing both sides to air dry properly. This prevents moisture buildup that could lead to mould growth.
Is a Mattress Ruined if It Gets Pee on It?
Good news: your mattress isn’t automatically ruined by urine accidents. Quick action makes all the difference between a temporary inconvenience and permanent damage.
Key factors that determine success:
- Speed of response – fresh accidents clean much easier than dried stains
- Amount of liquid – small spots versus large soaked areas require different approaches
- Mattress age and quality – newer, higher-quality materials typically recover better
Most urine accidents can be completely reversed using the methods we’ve covered. Even dried stains that seem hopeless often respond well to enzyme treatments and patience.
When replacement becomes necessary: Long-term exposure can permanently discolour fabric or create structural damage, but this typically requires neglect over weeks or months rather than single incidents.
The bottom line? Don’t panic and don’t give up. With proper cleaning techniques, you can restore your mattress to its former condition and continue enjoying quality sleep.
Prevention: Protecting Your Mattress Investment
Waterproof mattress protectors serve as your first line of defence against future accidents. These protective barriers shield your mattress from liquids whilst remaining breathable and comfortable for sleep.
Choose the right protection level:
- Fitted waterproof protectors – easy washing, basic liquid protection
- Zippered encasement covers – complete 360-degree protection, prevents seepage at edges
- Layered protection system – combine protector with washable bed pads for maximum security
| Protection Type | Best For | Maintenance |
|---|---|---|
| Basic fitted protector | Occasional accidents | Weekly washing |
| Full encasement | Chronic bedwetting | Monthly deep clean |
| Disposable pads | Travel or temporary use | Replace after each incident |
Smart prevention habits make accidents less likely. Encourage bathroom visits before bedtime and limit evening fluid intake. For children, consider moisture-sensing alarms that wake them when wetness is detected.
Your mattress represents a significant investment – protecting it properly ensures years of comfortable, hygienic sleep. You can read our article on how to clean your mattress.