Résumer cet article avec :
 Claude
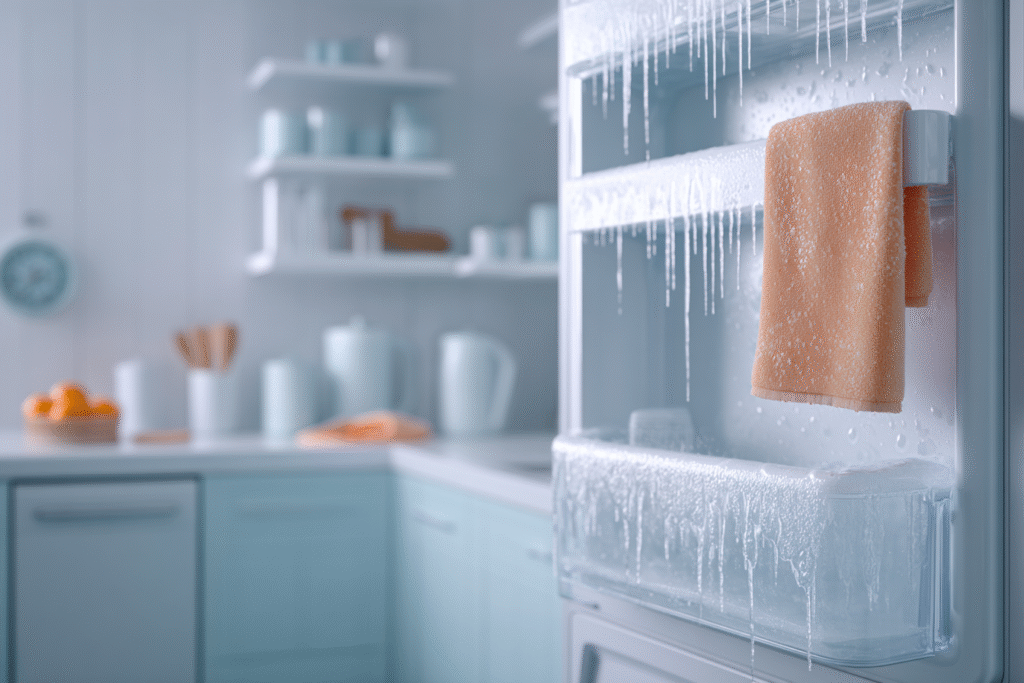
When your freezer starts looking like an ice cave, it’s time to take action. We know defrosting your fridge freezer isn’t the most exciting weekend activity, but doing it properly saves you money on energy bills and gives you back precious storage space. Our step-by-step guide makes the process straightforward and mess-free.
Why You Need to Defrost Your Fridge Freezer
Signs It’s Time for Defrosting
Spotting the warning signs early saves you time and hassle. Here’s what to watch for:
Visual indicators:
- Ice build-up thicker than a quarter of an inch on freezer walls
- Frost coating your frozen food packages
- Water pooling inside the freezer compartment or underneath your appliance
Performance issues:
- Your freezer struggles to maintain temperature
- Drawers won’t slide properly due to ice blockage
- Energy bills creeping up as your appliance works harder
Storage problems:
- Less space for your frozen food
- Difficulty accessing items buried behind ice formations
The golden rule? If you’re chipping away ice to find last week’s leftovers, you’ve waited too long. Most freezers need attention when frost reaches that quarter-inch mark.
Energy Efficiency & Cost Benefits
Regular defrosting delivers serious savings on your energy bills. Research shows that ice buildup forces your freezer to work up to 25% harder, with every 2mm of frost increasing energy consumption by roughly 10%.
Financial impact:
- Heavily frosted freezers can add £100-£200 annually to household bills
- Manual defrost models use 40% less energy than frost-free alternatives when properly maintained
- Daily energy costs can increase by 60-70p with excessive ice buildup
Efficiency improvements:
- Defrosting can reduce energy usage by 5-10% immediately
- Better airflow means consistent temperatures with less compressor strain
- Improved heat transfer efficiency extends your appliance’s lifespan
The numbers speak for themselves – that weekend defrosting session pays for itself within weeks through lower running costs.
Food Safety & Storage Space
Proper defrosting protects your food and maximises freezer capacity. Ice buildup creates the perfect breeding ground for bacteria when temperatures fluctuate, putting your frozen goods at risk.
Safety concerns during defrosting:
| Risk | Prevention |
|---|---|
| Food spoilage | Use cooler bags with ice packs for several hours |
| Temperature danger zone | Keep frozen items below -18°C throughout process |
| Cross-contamination | Store raw and cooked foods separately |
Storage benefits:
- Reclaim up to 30% more freezer space after removing ice buildup
- Better warm air circulation prevents future frost formation
- Easier access to food items without ice barriers
What’s the best way to keep food safe? Plan your defrosting around meal prep – use up perishables beforehand and keep door open time minimal. Safety reasons demand you never refreeze fully thawed items, so cook them within 24 hours instead.
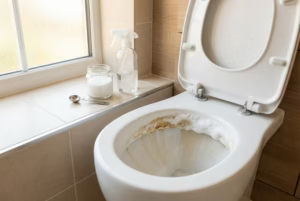
Your freezer works more efficiently when ice-free, maintaining consistent temperatures that preserve food quality longer. If you’re dealing with bad odors, check out our article on how to get rid of fridge smells for simple, effective solutions.
Step-by-Step Defrosting Process
Essential Preparation & Tools Needed
Getting organised beforehand makes defrosting a breeze rather than a soggy mess. Start by gathering your kit – you’ll need old towels to catch drips, plastic liners for extra floor protection, and shallow containers to collect melting ice.
Your defrosting toolkit:
- Hot water in bowls to speed up the process
- Hair dryer (if your freezer lacks foam insulation)
- Damp cloth for wiping surfaces clean
- Cooler bags with ice packs for food storage
Preparation checklist:
- Empty your freezer completely, checking expiry dates
- Position old towels around the base and underneath
- Locate your drainage hose if your model has one
- Clear space near a sink for washing removable parts
Pro tip: If your freezer has front legs, angle it slightly forward using a low basin underneath – this simple trick helps water flow away from your kitchen floor naturally.
Safe Defrosting Method with Hot Water
Hot water transforms your defrosting from hours into minutes using simple steam power. Fill several bowls with boiling water and position them carefully inside your unplugged freezer compartment.
The technique:
- Place bowls on folded towels to protect shelves from heat damage
- Replace water every 10-15 minutes as it cools down
- Steam works behind ice buildup, loosening stubborn chunks naturally
- Use a plastic scraper to gently remove softened ice pieces
| Water Temperature | Replacement Time | Safety Note |
|---|---|---|
| Boiling hot | Every 10 minutes | Handle with oven gloves |
| Very hot | Every 15 minutes | Prevents shelf cracking |
Never pour hot water directly onto ice – this risks damaging your freezer’s interior and creates dangerous steam bursts. The steam method gives your freezer a thorough defrost without the elbow grease.
Cleaning & Drying Before Restart
Once all ice has melted, proper cleaning prevents odours and bacteria buildup. Remove all shelves and drawers first – pop them in the sink with hot water and washing up liquid for a thorough soak.
Cleaning your freezer interior:
- Wipe down walls with warm soapy water and a clean cloth
- Pay attention to door seals where crumbs and bacteria hide
- Use a damp cloth with baking soda for stubborn stains
- Rinse surfaces with clean water to remove soap residue
| Cleaning Solution | Best For | Drying Time |
|---|---|---|
| Warm soapy water | General cleaning | 5-10 minutes |
| Baking soda paste | Stubborn odours | 15 minutes |
| Vinegar solution | Disinfecting surfaces | 10 minutes |
Thorough drying prevents ice reformation – use clean tea towels to wipe every surface completely dry. Any leftover moisture will freeze when you restart, creating the same problem you’ve just solved. Replace shelves and drawers only when everything is bone dry.
Quick Defrosting Tips & Advanced Methods
How do you defrost a fridge freezer quickly?
Speed matters when your frozen peas have turned into ice sculptures. Here are our favourite handy guide techniques using simple techniques that work fast:
Fan power method:
- Position a desk fan directly at your open freezer
- Creates airflow that melts ice in 30-45 minutes
- Works brilliantly combined with room temperature
Hair dryer technique:
- Use low heat setting only to avoid damage
- Keep 6 inches away from surfaces
- Target thick ice patches for maximum effect
| Method | Time Needed | Best For |
|---|---|---|
| Fan circulation | 30-45 minutes | Light frost buildup |
| Hair dryer | 15-20 minutes | Stubborn ice chunks |
Remember: Never use sharp objects or metal tools – plastic scrapers protect your freezer’s interior while getting the job done safely.
Defrosting Without Turning Off Power
Some fridge freezers allow you to defrost just the freezer compartment whilst keeping your fridge section running. Check if your model has separate temperature controls for each section – look for dual dials or digital displays.
The hot water bowl method works brilliantly here:
- Remove frozen items and pack them tightly in the fridge section
- Place bowls of hot water on freezer shelves
- Keep the freezer door open but fridge door closed
- Replace water every 15 minutes until ice melts
| Freezer Type | Separate Controls | Defrost Time |
|---|---|---|
| Side-by-side models | Usually yes | 45-60 minutes |
| Top-bottom units | Sometimes | 30-45 minutes |
| Integrated models | Rarely | Full power-off needed |
This approach saves energy and protects your refrigerated goods from temperature fluctuations.
Using Salt & Other Thawing Techniques
Salt accelerates ice melting through basic chemistry – it lowers the freezing point of water, making stubborn ice patches dissolve faster. However, we recommend using it sparingly and only in diluted form.
Safe salt application:
- Mix 2 tablespoons salt with 1 cup hot water in a spray bottle
- Spray lightly on thick ice areas and wait 10-15 minutes
- Wipe away with plastic scraper once ice softens
| Alternative Method | Time Required | Safety Level |
|---|---|---|
| Salt water spray | 10-15 minutes | High |
| Rubbing alcohol solution | 5-10 minutes | Medium |
| Warm wet towels | 20-30 minutes | Very high |
Avoid sprinkling dry salt directly – it can corrode seals and metal components over time. The alcohol method works similarly: mix equal parts warm water and rubbing alcohol for faster results on particularly thick frost buildup.
Warm towel technique offers the gentlest approach – soak towels in hot water, wring out excess, then lay them against icy surfaces for gradual, damage-free melting.
Specific Appliance Types & Situations
How long does it take to defrost a freezer?
Defrosting times vary dramatically based on ice thickness and your chosen method. Most freezers need 2-12 hours for complete defrosting when left to melt naturally.
Key timing factors:
- Light frost buildup: 2-4 hours
- Moderate ice layers: 6-8 hours
- Heavy ice accumulation: 12-24 hours
| Ice Thickness | Natural Method | Hot Water Method |
|---|---|---|
| Under 5mm | 2-3 hours | 30-45 minutes |
| 5-15mm | 4-8 hours | 1-2 hours |
| Over 15mm | 12-24 hours | 2-4 hours |
Speed up the process by using hot water bowls, which can cut defrosting time by 75%. Room temperature also matters – summer defrosting happens faster than winter sessions.
Plan ahead and start defrosting when you have plenty of time available.
Chest Freezer & Bosch Model Guidelines
Chest freezers need manual defrosting every 6-12 months depending on usage, whilst many Bosch models feature NoFrost technology that eliminates this chore entirely.
Bosch chest freezer preparation:
- Remove all frozen items and store in cool bags with ice packs
- Unplug the appliance completely from the mains
- Place towels around the base to catch melting water
| Bosch Feature | Defrost Frequency | Special Notes |
|---|---|---|
| NoFrost models | Never required | Automatic ice prevention |
| Standard chest freezers | Every 6 months | Manual defrost needed |
| EcoAirflow systems | Every 8-12 months | More efficient ice management |
For traditional Bosch chest freezers, use the hot water bowl method we covered earlier – it works brilliantly in the larger space. Position two bowls of hot water on opposite sides for even melting.
Remember to consult your specific model’s manual, as newer Bosch freezers may have drain plugs at the bottom for easier water removal during defrosting.
Defrosting When Moving House
Moving house means timing becomes absolutely crucial for your fridge freezer preparation. You can’t simply defrost on moving day – the process needs careful coordination with your removal schedule.
Start defrosting 24-48 hours before removal day to ensure complete ice removal and thorough drying. This prevents water damage to your belongings during transport and protects your floors from leaks.
Essential moving timeline:
- 48 hours before: Begin emptying freezer contents
- 24 hours before: Switch off and start defrosting process
- Moving day: Ensure appliance is completely dry
| Move Distance | Defrost Timing | Special Considerations |
|---|---|---|
| Local (under 2 hours) | 12-24 hours prior | Can transport some frozen items in cool bags |
| Long distance | 48 hours prior | Empty completely, thorough cleaning required |
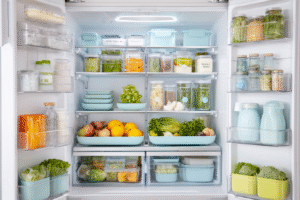
Protect your removal van by securing doors with tape and placing towels around the base to catch any residual moisture during loading. And once you’re done defrosting your fridge, you can explore our organization tips to keep it clean and efficient.