Résumer cet article avec :
 Claude
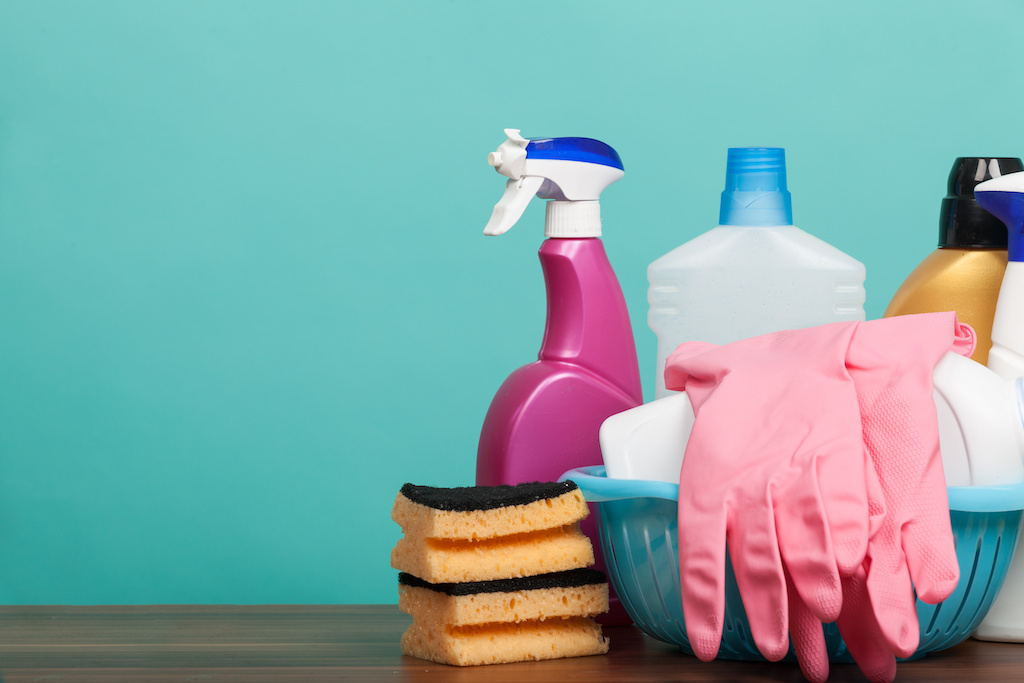
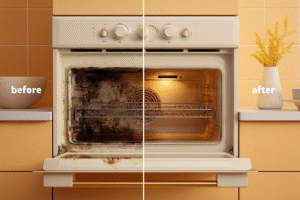
Let’s be honest—cleaning the oven is no one’s favourite task. But a clean oven doesn’t just look better; it works better, smells fresher, and is much safer. Whether you’re a baking enthusiast or just use your oven for the occasional frozen pizza, learning how to clean your oven is the key to maintaining a long lasting oven. Wecasa expert house cleaners have put together this comprehensive guide to walk you through the best ways to clean your oven, from natural remedies to using built-in self-cleaning features. Let’s dive in!

Why Regular Oven Cleaning Matters
Food Safety and Hygiene
Leftover food particles and grease can become a breeding ground for bacteria. That’s not something you want anywhere near your food. Maintaining a clean oven helps keep your meals safe and hygienic, reducing the risk of contamination.
Prevent Smoke and Odours
Ever noticed smoke or strange smells when preheating your oven? That’s often due to burnt-on grease and food spills. Regular cleaning eliminates these residues, so you’re not greeted by smoke or unpleasant odours every time you cook.
Maintain Oven Efficiency
A dirty oven takes longer to heat up and struggles to maintain consistent temperatures. This means longer cooking times and unevenly cooked food. Cleaning your oven ensures it runs efficiently, saving energy and improving performance.
Best Ways to Clean Your Oven: Step-by-Step Oven Cleaning Guide
Step 1: Preparation
Before diving into the scrubbing, get everything ready:
| Step | What to Do |
|---|---|
| 1. Remove oven racks | Take out all removable parts. |
| 2. Gather supplies | Gloves, sponge, baking soda, vinegar, scraper, cloths, etc. |
| 3. Clear loose debris | Use a handheld vacuum or brush to remove crumbs. |
Step 2: Cleaning the Oven Interior: Using Natural Cleaning Methods
Natural solutions are kind to the environment—and your lungs! Here are the most effective methods:
Baking Soda and Vinegar Solution for cleaning
Cleaning your oven with backing soda and vinegar is a classic combo that works wonders on stubborn grime.
- Mix: ½ cup of baking soda with a few tablespoons of water to form a paste.
- Apply: Spread the paste inside the oven (avoid heating elements) and leave overnight.
- Spray: The next day, spray white vinegar over the paste—it’ll fizz and help lift grime.
- Wipe: Use a damp cloth to wipe away the residue.
Steam Cleaning with Lemon
Cleaning your oven with lemons permits you to cut through grease naturally and leave a fresh scent.
- Slice two lemons and place them in an oven-safe dish filled with water.
- Heat at 120°C for 30 minutes.
- Wipe down the interior with a damp cloth—the steam loosens grease for easy removal.
Self-Cleaning Oven Function
Modern ovens often include a self-cleaning feature. This cycle locks the oven and heats it to very high temperatures (around 500°C), incinerating food residues to ash. Use the self-cleaning function every few months, or after particularly messy cooking. It’s convenient, but not a replacement for regular maintenance.
Safety Tips During the Cycle
- Ventilate your kitchen—open windows or switch on the extractor fan.
- Stay nearby, but keep children and pets away.
- Never leave anything inside the oven during the cycle (including racks unless specified safe).
Pro tip: Avoid getting cleaner on fan vents or heating elements.
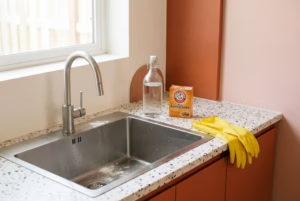
Step 3: Cleaning the Oven Glass Door
Cleaning the oven door requires a gentle yet effective approach, especially when dealing with the glass panel and rubber seals.
Start by tackling any stuck-on grease using a glass scraper—this helps lift grime without scratching the surface of your oven door. For a streak-free shine, a simple mixture of vinegar and water works beautifully to polish the glass, leaving it clear and spotless.
If grease has built up, apply a paste of baking soda and water directly onto the affected areas. Let it sit for about 20 minutes before scrubbing gently with a soft sponge.
Don’t forget the door seals—wipe them carefully with a damp cloth, taking care not to soak or tug on them, as they’re essential for keeping heat in and ensuring the oven functions efficiently.
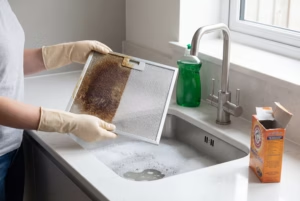
Step 4: Cleaning Oven Racks and Trays
Oven racks deserve love too—they collect a lot of grime.
- Soak in hot water mixed with washing-up liquid or baking soda for 1–2 hours.
- Add a splash of vinegar for extra cleaning power.
- Use a non-scratch scrubber or an old toothbrush for tricky corners.
- Rinse well and dry completely before placing them back.
Maintenance Tips
Regular Cleaning Schedule
| Frequency | Task |
|---|---|
| Weekly | Wipe down door and check for spills. |
| Monthly | Quick clean of interior and racks. |
| Quarterly | Deep clean or use self-cleaning cycle. |
Preventing Spills and Messes
- Use baking trays or oven liners to catch drips.
- Cover dishes when baking to minimise splatters.
- Wipe up spills as soon as the oven cools down.
Quick Cleaning Hacks
- Steam clean with lemon water weekly for freshness.
- Keep a vinegar spray nearby for quick wipe-downs.
- Use a handheld vacuum to remove crumbs regularly.
Common Mistakes to Avoid
Avoid these pitfalls for a safer, more effective clean:
Using Incorrect Cleaning Products
Some cleaners can damage enamel or heating elements. Always read labels and avoid:
- Abrasive powders
- Metal scouring pads
- Ammonia-based sprays (unless safe for ovens)
Skipping Safety Precautions
Don’t forget:
- Wear gloves.
- Keep the room well-ventilated.
- Never mix chemical cleaners (e.g. bleach and vinegar).
Cleaning the oven might not top anyone’s list of fun household tasks, but it doesn’t have to be a hassle. With these simple tips and time-saving guide, your oven can be perfectly clean in just a few steps—no stress, no mess!
Still not feeling up to the challenge? No problem! Wecasa’s expert home cleaners are ready to step in. Simply book your cleaning session, sit back, and let the pros do their magic. Your oven will be sparkling clean before you know it—no effort required on your part!