Summarise this article with:
 Claude
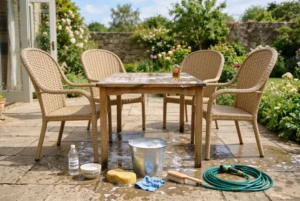
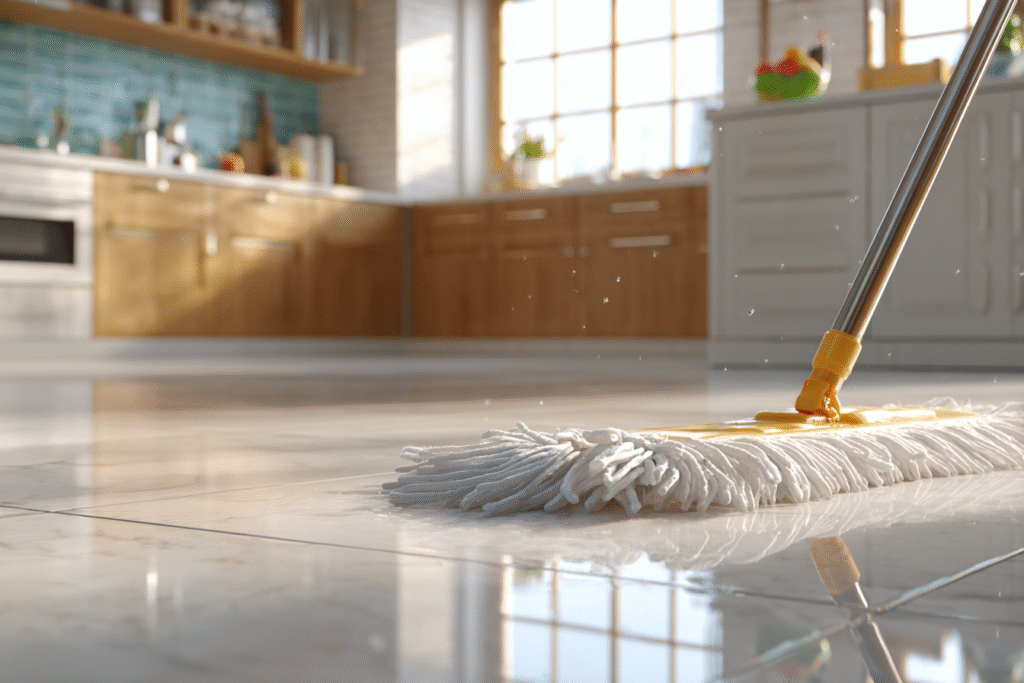
A clean kitchen floor can completely transform how your whole home feels. But sometimes, no matter how much you mop, it still looks… meh. If that sounds familiar, you’re not alone! At Wecasa, we know how frustrating it can be when your kitchen floor doesn’t sparkle the way you want it to. Don’t worry — we’ve got your back. In this guide, we’ll cover common cleaning mistakes, tried-and-tested DIY solutions, and the best methods for every type of kitchen floor. Ready to fall in love with your floors again? Let’s dive in.
Why are my floors still dirty after mopping?
Even with regular cleaning, some kitchen floors just don’t shine. Here’s why that might be happening.
Common Cleaning Mistakes
- Using the wrong cleaner for your floor type
- Skipping sweeping or vacuuming first, which pushes dirt around
- Overusing water — especially bad for wood or laminate
- Neglecting the grout on tiled floors
- Using dirty mop water — a common culprit for streaks
How do you know how to properly clean your floors? : Signs to look for
Some signs it’s time to level up your routine:
- Dull patches or faded areas
- Stubborn stains that won’t budge
- Sticky or tacky spots, even after drying
- Grout lines that have changed colour
The Importance of Regular Kitchen Floor Maintenance
Your kitchen is a high-traffic area. Crumbs, spills and grease build up fast! Regular maintenance prevents long-term damage and helps your floor last longer. Plus, it just feels better walking on a clean floor.
Best Way to Properly Clean Your Kitchen Floor: A Step-by-Step Guide
Getting great results starts with the right process. Here’s a foolproof method to deep-clean your kitchen floor like a pro.
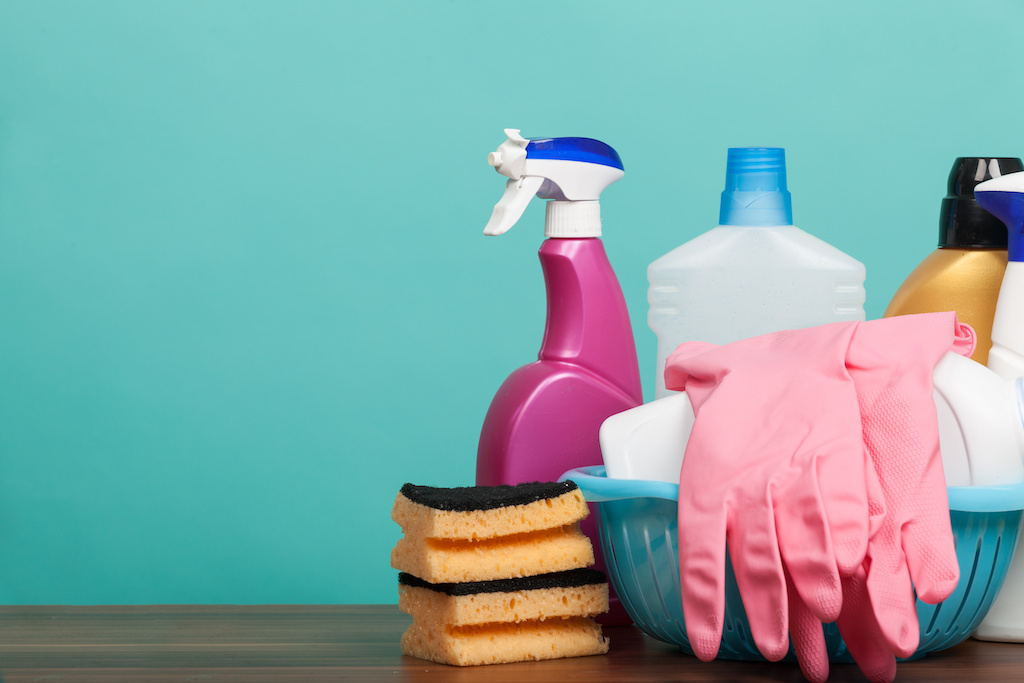
Essential Cleaning Tools and Equipment
Before you begin, gather your gear:
| Tool | Purpose |
|---|---|
| Soft-bristled broom or vacuum | Removes dust and crumbs |
| Microfibre mop | Picks up fine dirt and avoids streaks |
| Bucket with clean water | Rinse and dilute cleaning solutions |
| Soft scrub brush or old toothbrush | Ideal for grout and edges |
| Floor-specific cleaner | Choose based on surface type |
Pre-Cleaning Preparation Tips
- Clear the floor of chairs, bins, rugs or mats.
- Vacuum or sweep thoroughly, especially under appliances.
- Test your cleaner on a hidden patch first to avoid damage.
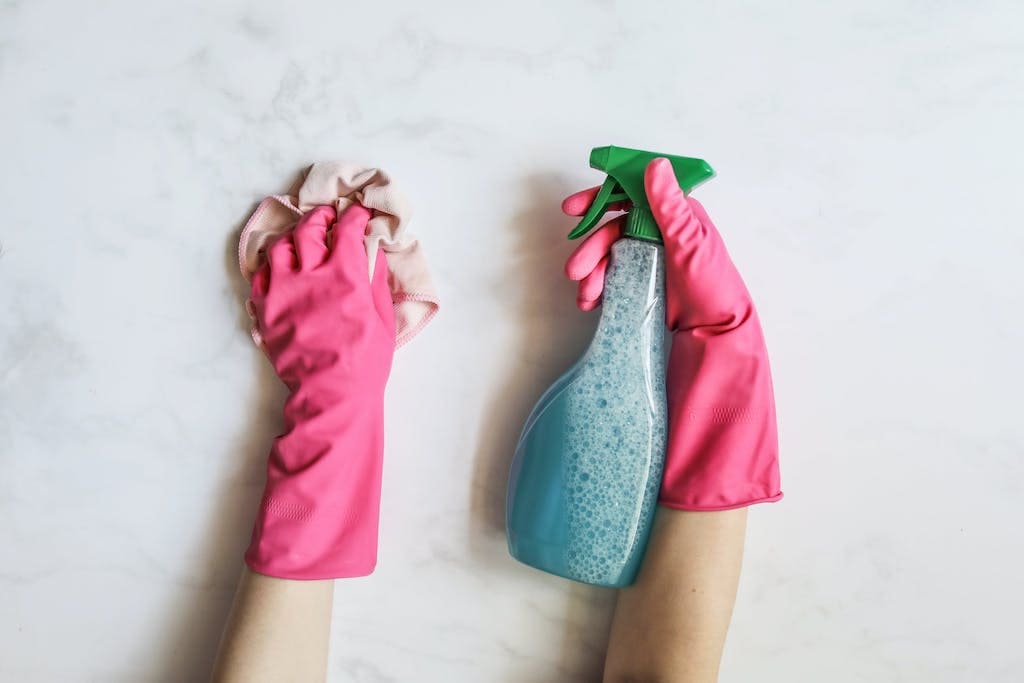
Basic Cleaning Techniques That Actually Work
- Mop with a damp (not wet) mop to avoid water damage.
- Change mop water frequently to prevent spreading dirt.
- Focus on corners and baseboards, where grime often hides.
- Rinse with clean water if using soapy solutions.
How to deep clean your floors like a pro
Every now and then, your kitchen floor needs more than just a quick mop – and that’s where the pros’ deep cleaning secrets come in. One of the best tools in your arsenal is a steam mop, which works wonders on sealed tile and vinyl floors by loosening stubborn grime without the need for harsh chemicals.
Grout lines, often forgotten, can trap dirt and discolour easily – a simple paste of baking soda and water, gently scrubbed with an old toothbrush, helps restore their original colour. For a final shine, white vinegar diluted with warm water is a classic go-to for tiled floors, leaving surfaces gleaming. Just remember: never use vinegar on natural stone or wood, as it can cause long-term damage.
Best Kitchen Floor Cleaning Every Surface Type
Each kitchen floor type has its own needs. Let’s break it down.
Best way to deep clean your Tiles and Grout
Tile is durable, but grout can trap dirt.
- Use a pH-neutral cleaner when mopping tile floors.
- For grout: Mix baking soda and water into a paste, apply, scrub gently, then rinse.
- Avoid bleach – it can damage coloured grout over time.
How do you clean vinyl floors
Vinyl flooring is known for being durable and low-maintenance, but it still needs a gentle touch to stay looking its best. When cleaning your vinyl floor daily, get a solution of warm water and a few drops of mild dish soap — it lifts dirt without damaging the surface. Be sure to use a soft mop or cloth, as abrasive tools or scrubbers can leave scratches.
It’s also important to avoid soaking the floor; too much water can seep into the seams and cause the adhesive underneath to weaken. Stick to a damp mop and dry the floor with a soft towel if needed, keeping your vinyl floors fresh and in great condition for years to come.
How To Mop Wooden Floors
First thing’s first, in order to clean your wood floors, you have to maintain a regular vacuuming plan. So grab that vacuum and let Wecasa show you how to properly clean your floors. When it comes to mopping, less is definitely more! Use a proper wood-safe cleaning product and a barely damp microfibre cloth or mop. Think of it as giving your floor a gentle pat rather than a proper soak.
Pro tip: stay away from steam mops and vinegar solutions on your wooden floors. We know, vinegar is usually our cleaning bestie, but not on wood! As it can make your gorgeous wooden floors look dull and warped faster than you can say “whoops”.
Laminate Floor Cleaning Methods
Laminate looks like wood but behaves differently:
- Sweep or vacuum (with soft brush attachment) often.
- Use a laminate-safe spray cleaner and a microfibre mop.
- Avoid excess water or polish — it can bubble or peel the top layer.
Natural Stone Floor Care
Natural stone is elegant but delicate:
- Stick to pH-neutral stone cleaners only.
- Wipe spills immediately to prevent staining.
- Never use vinegar, lemon juice or bleach — they’ll etch the surface.
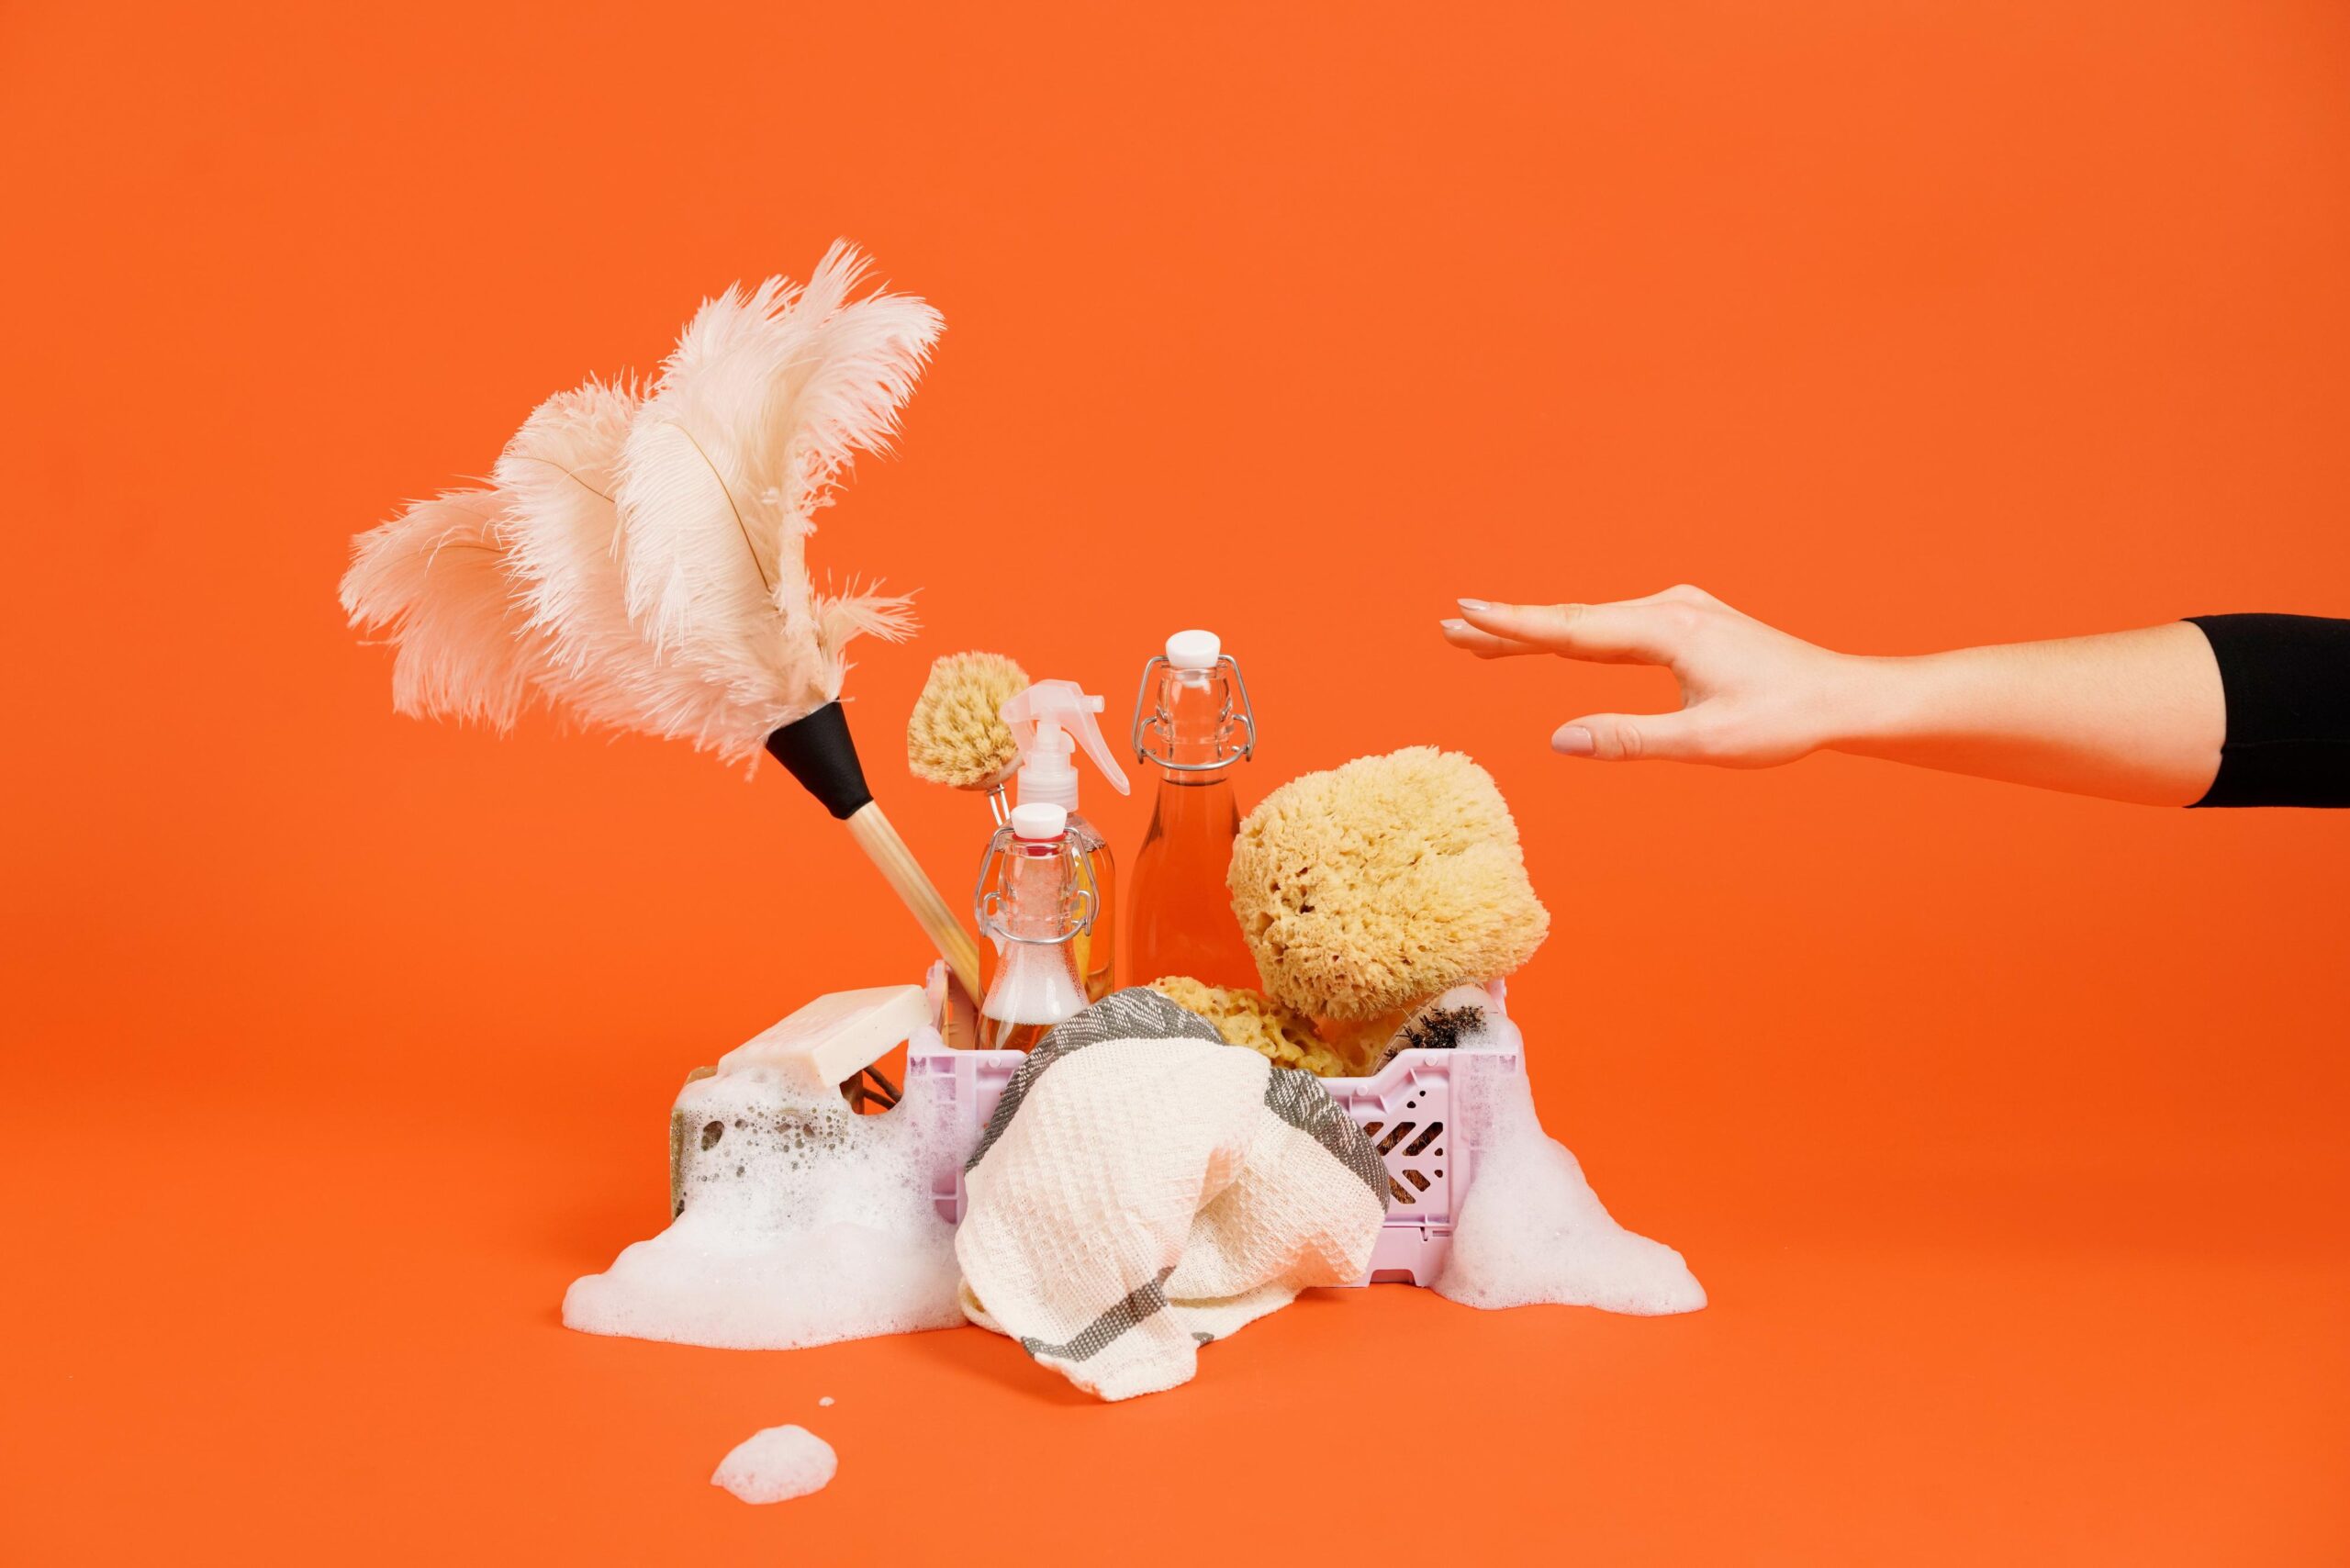
DIY Kitchen Floor Cleaners That Actually Work
Looking for eco-friendly, budget-friendly solutions? Here are a few DIY favourites that really deliver.
Vinegar-Based Cleaning Solutions
Great for: Tile and vinyl (never wood or stone)
Recipe:
- 1 cup white vinegar
- 1 litre warm water
- Optional: a few drops of essential oil for scent
How to use: Mop as usual, no rinsing needed.
Baking Soda Treatments for Stubborn Stains
Great for: Grout, tile, sticky patches
Recipe:
- Mix baking soda with a little water to make a thick paste.
How to use:
- Apply to stain or grout, scrub gently with a brush, and rinse.
More Natural Alternatives to Chemical Cleaners
- Castile soap – A gentle, plant-based option for most floor types
- Lemon juice + water – Adds freshness (only safe for sealed tile or vinyl)
- Black tea – Surprisingly effective for wood floors (use sparingly!)
Top Tips for Maintaining Spotless / mopped Kitchen Floors
Keep your kitchen floor looking fab with these daily and weekly habits:
Daily Routine
- Sweep or vacuum (yes, every day – those crumbs add up!)
- Wipe up spills immediately (future you will be grateful)
- Use door mats to catch dirt before it spreads
Weekly Tasks
- Full mop with appropriate cleaner
- Check for any stubborn spots
- Clean your cleaning tools (dirty mops = dirty floors)
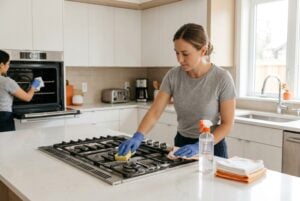
When to Call in the Professionals
Sometimes, even the most dedicated DIY cleaner needs a helping hand. If you’re noticing deep stains that won’t budge, damaged grout lines, or if your floor has lost its shine despite your best efforts, it might be time to call in the experts.
Professional cleaning can:
- Remove deep-seated dirt and stains
- Restore your floor’s original finish
- Apply protective sealants where needed
- Give you expert advice on maintenance
Remember, a clean kitchen floor isn’t just about aesthetics – it’s about creating a healthy, hygienic space where you can cook, dance, and live your best life. Keeping it spotless doesn’t have to be complicated — it’s all about using the right techniques for the right surface. From gentle daily care to occasional deep cleaning, a consistent routine will keep your floors looking fresh and extend their lifespan. And if stubborn stains or build-up are getting the better of you, Wecasa professional domestic cleaners can bring back that like-new shine in no time. Book a cleaning session now, sit back, relax and watch the magic happen!